Restoring old furniture can be a deeply satisfying endeavor, offering the chance to breathe new life into cherished pieces and transform them into unique, functional works of art. The process can be significantly enhanced with the right power tools, making it more efficient and enjoyable. This article provides a detailed guide on how to revitalize furniture using essential power tools, with practical tips and success stories to inspire your next project.
Selecting Essential Power Tools
To embark on a successful furniture restoration, having the right tools is crucial. Here are some key power tools that can greatly enhance your restoration process:
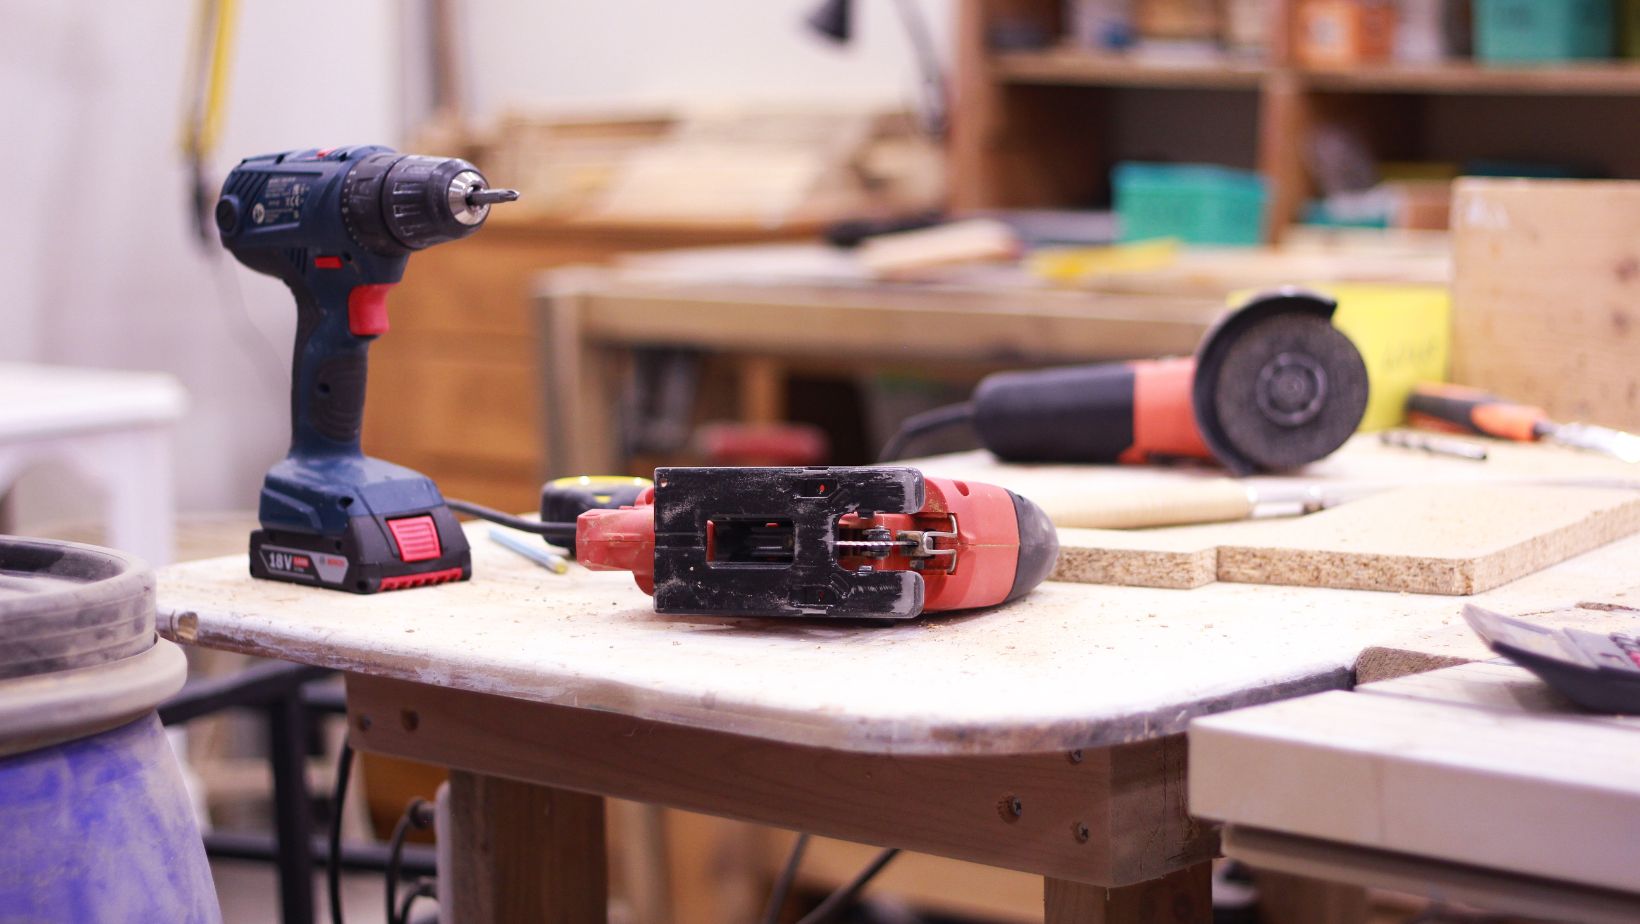
- Cordless Drill: This versatile tool is indispensable for drilling holes, driving screws, and assembling or disassembling furniture. Its cordless design offers flexibility and freedom of movement, making it ideal for various tasks.
- Orbital Sander: Ideal for smoothing surfaces and removing old finishes, an orbital sander helps achieve a smooth, even surface, which is essential for applying new paint or stain.
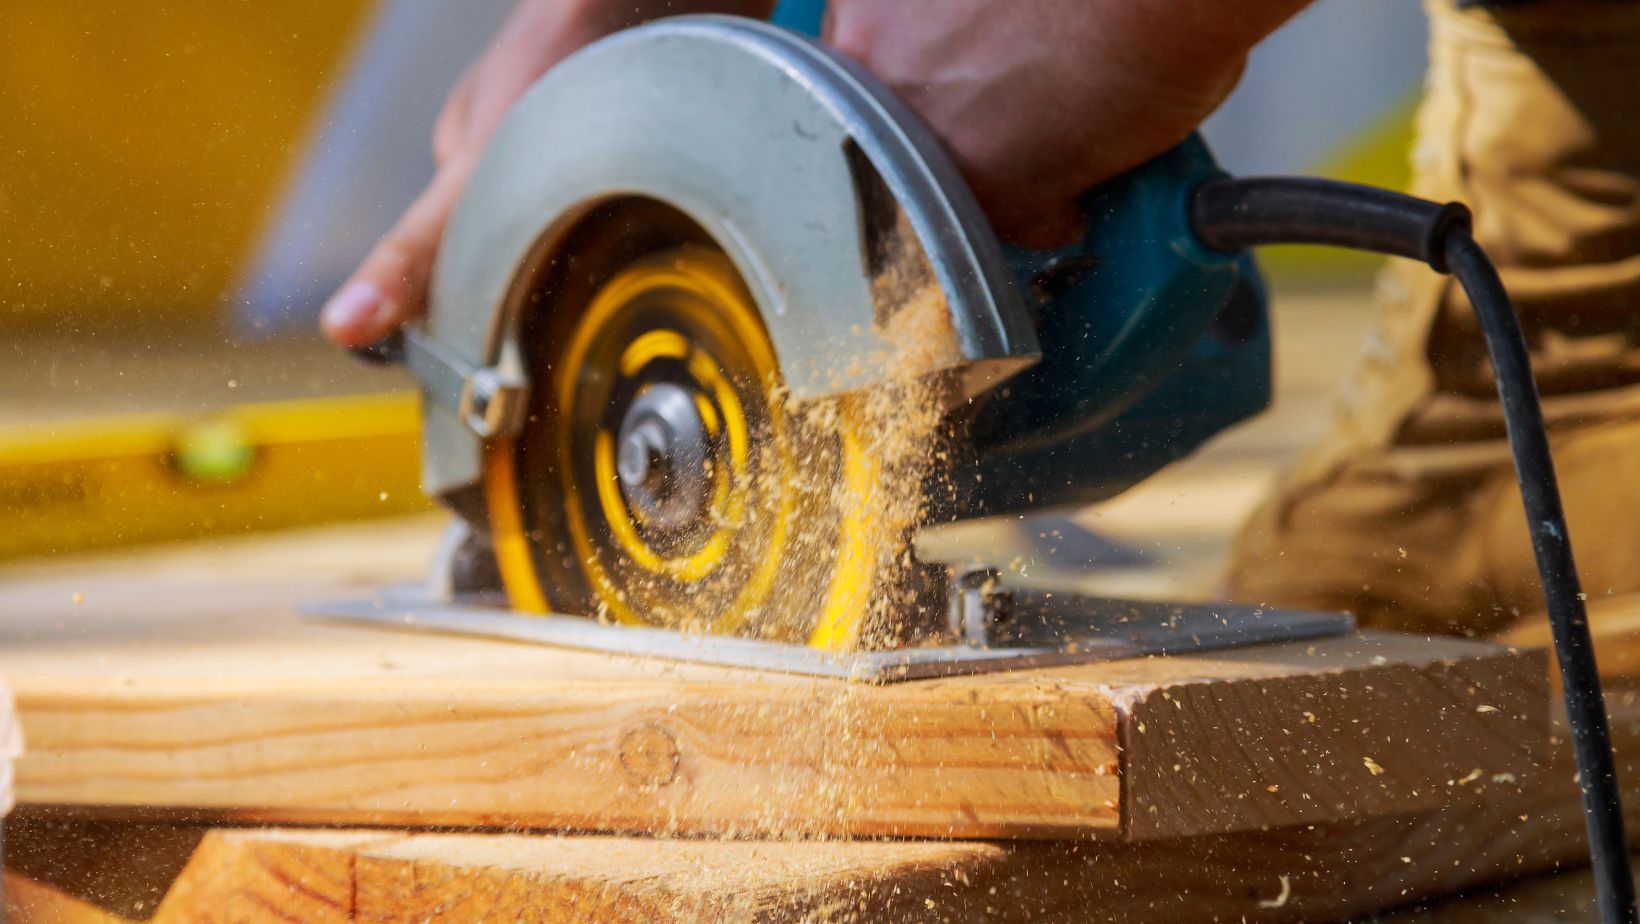
- Jigsaw: Perfect for making intricate cuts or reshaping wood, a jigsaw is useful for projects that require precise modifications to furniture pieces.
- Router: This tool is used for hollowing out areas in wood or creating decorative edges. A router can add unique design elements to your furniture or repair damaged sections.
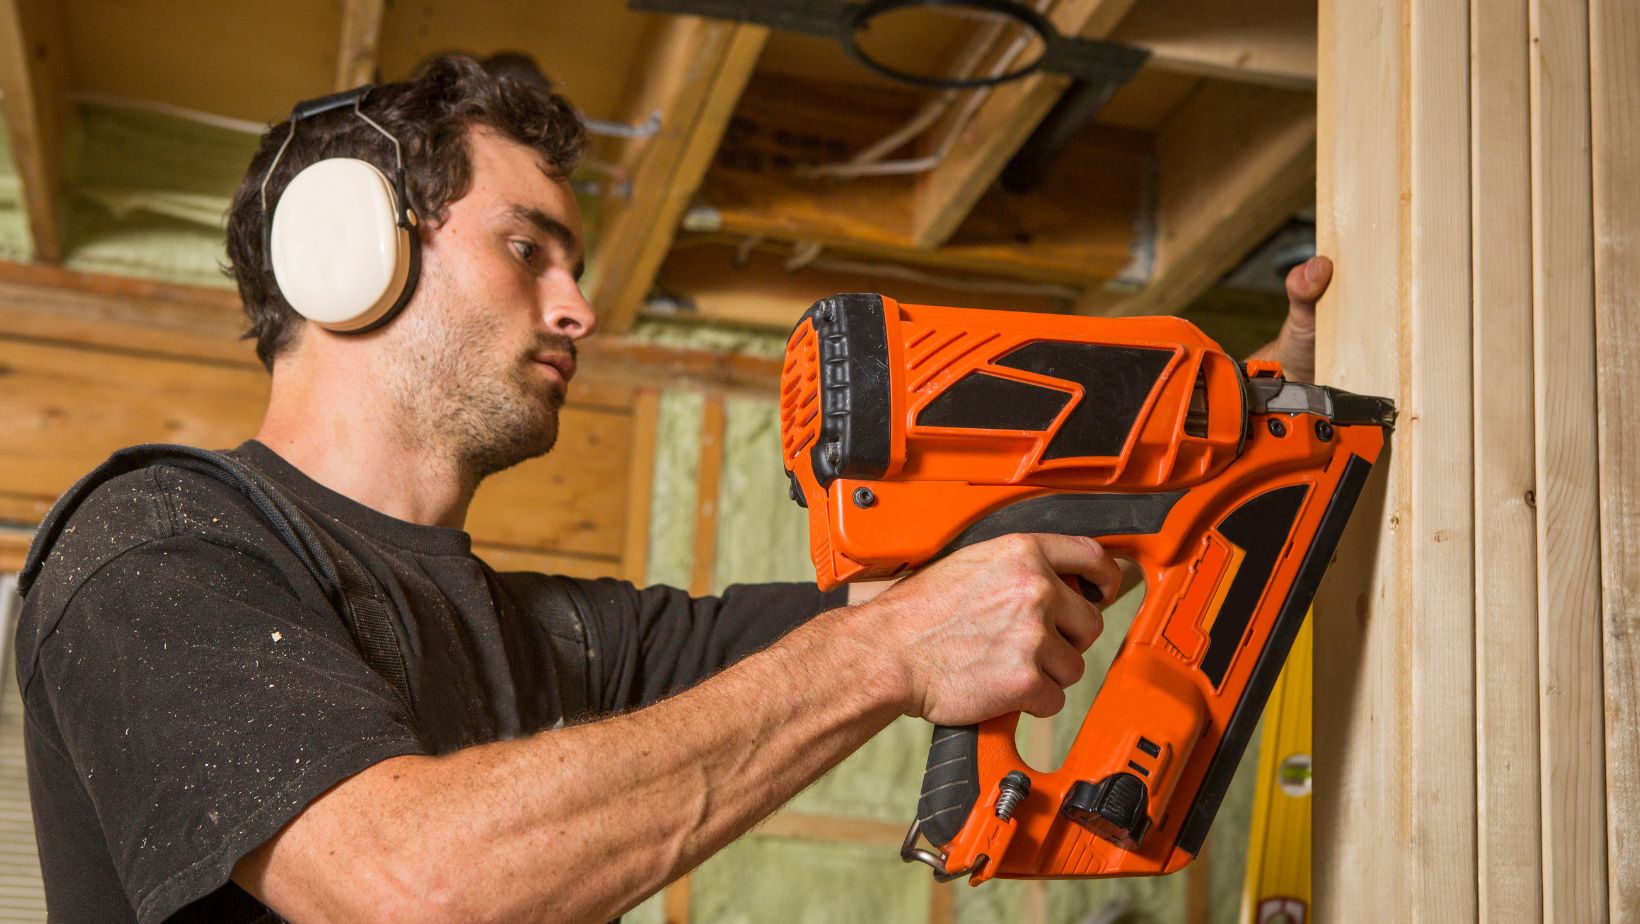
- Impact Driver: With greater torque than a standard drill, an impact driver is essential for driving screws into hard materials, ensuring sturdy construction and assembly.
Step-by-Step Restoration Guide
1. Assessment and Planning
Begin by evaluating the condition of the furniture. Identify any damage, wear, or structural issues. Plan the restoration process, including selecting tools and materials such as sandpaper, wood filler, paint, and protective coatings.
2. Cleaning and Stripping
Thoroughly clean the furniture to remove dirt and grime. For wooden pieces, use a mild detergent and soft cloth. Next, strip off old paint or varnish with an orbital sander or paint remover, ensuring a clean surface for the next steps.
3. Repair and Reinforce
Check for any structural issues, such as loose joints or cracks. Use wood filler to repair small holes and imperfections. For loose joints, apply wood glue and clamp the pieces until the glue dries. Reinforce weak areas with screws or brackets if needed.
4. Sanding and Smoothing
Sand the entire surface with an orbital sander, starting with a coarse grit to remove old finishes and imperfections, then progressing to finer grits for a smooth, even finish.
Ensure that the surface is completely smooth before proceeding.
5. Painting or Staining
Once sanded, apply a primer if painting to improve adhesion and coverage. Apply paint in thin, even layers, allowing each coat to dry before adding another. For staining, apply the stain with a brush or cloth, wiping off any excess. Allow the stain to penetrate the wood and dry thoroughly.
6. Finishing Touches
Apply a clear topcoat or sealer to protect the new finish and enhance durability. Choose a finish that suits your design preference—whether glossy, satin, or matte. Follow the manufacturer’s instructions for curing times and application techniques.
7. Reassembly and Final Adjustments
If you disassembled the furniture for restoration, carefully reassemble it using an impact driver to secure screws and fasteners. Make final adjustments and touch-ups to ensure the piece looks polished and professionally finished.
Success Stories
1. Emma’s Vintage Revival in Birmingham
Emma, a DIY enthusiast from Birmingham, restored a vintage oak dresser inherited from her grandmother. The dresser was in poor condition, with worn finishes and damaged areas. Emma used her cordless drill to disassemble the dresser, cleaned and repaired the damaged sections, and then sanded the surface with an orbital sander. She applied a new stain and finished with a protective topcoat.
The restored dresser now stands as a beautiful and functional family heirloom in her home.
2. Chloe’s Mid-Century Modern Makeover in Liverpool
Chloe, a designer from Liverpool, tackled a mid-century modern coffee table she found at a local thrift shop. The table had a scratched surface and outdated legs. Chloe employed a jigsaw to modify the legs and a router to add decorative edges. Using her impact driver, she reassembled the table with precision. After sanding and painting the table, it was transformed into a stylish centerpiece for her living room. Chloe’s project exemplifies how power tools can help achieve impressive results in furniture restoration.
Conclusion
The art of furniture restoration is greatly enhanced by using power tools, which streamline the process and improve outcomes. Tools such as cordless drills, orbital sanders, and jigsaws are essential for achieving high-quality results. By following a systematic approach and utilizing these tools effectively, you can breathe new life into old furniture, creating pieces that are both functional and visually appealing. Embrace the potential of power tools and embark on your own restoration projects with confidence.