Why sound matters in a visual world
Open-plan lofts, glass partitions, and concrete floors photograph beautifully, yet they can turn a lively brainstorm into a tinny chorus of echoes. For content creators, designers, and stylists, the room is part of the story. Viewers notice when a podcast sounds hollow or when a behind-the-scenes clip has distracting reverb. Good acoustics do more than clean up a recording. They help teams stay focused, reduce fatigue during long edit sessions, and set a mood that clients immediately feel when they walk in.
Think of sound as another styling layer, right next to lighting and color. The right surfaces will soften harsh reflections, clarify voices, and give music a rich, intimate presence. You do not need a full studio build to get there. A balanced mix of absorptive and diffusive elements, placed where sound first bounces, can transform a space while preserving its aesthetic.
A quick sound check you can run today
Stand at your primary work spot and clap once. If you hear a sharp ring or a fluttery echo, your surfaces are too reflective. Move a rug into the room, hang a textile by the opposite wall, then clap again. Add a bookshelf with staggered objects near ear level. If dialogue sharpens and the ring fades, you are headed in the right direction. Small changes compound, especially around corners and parallel walls.
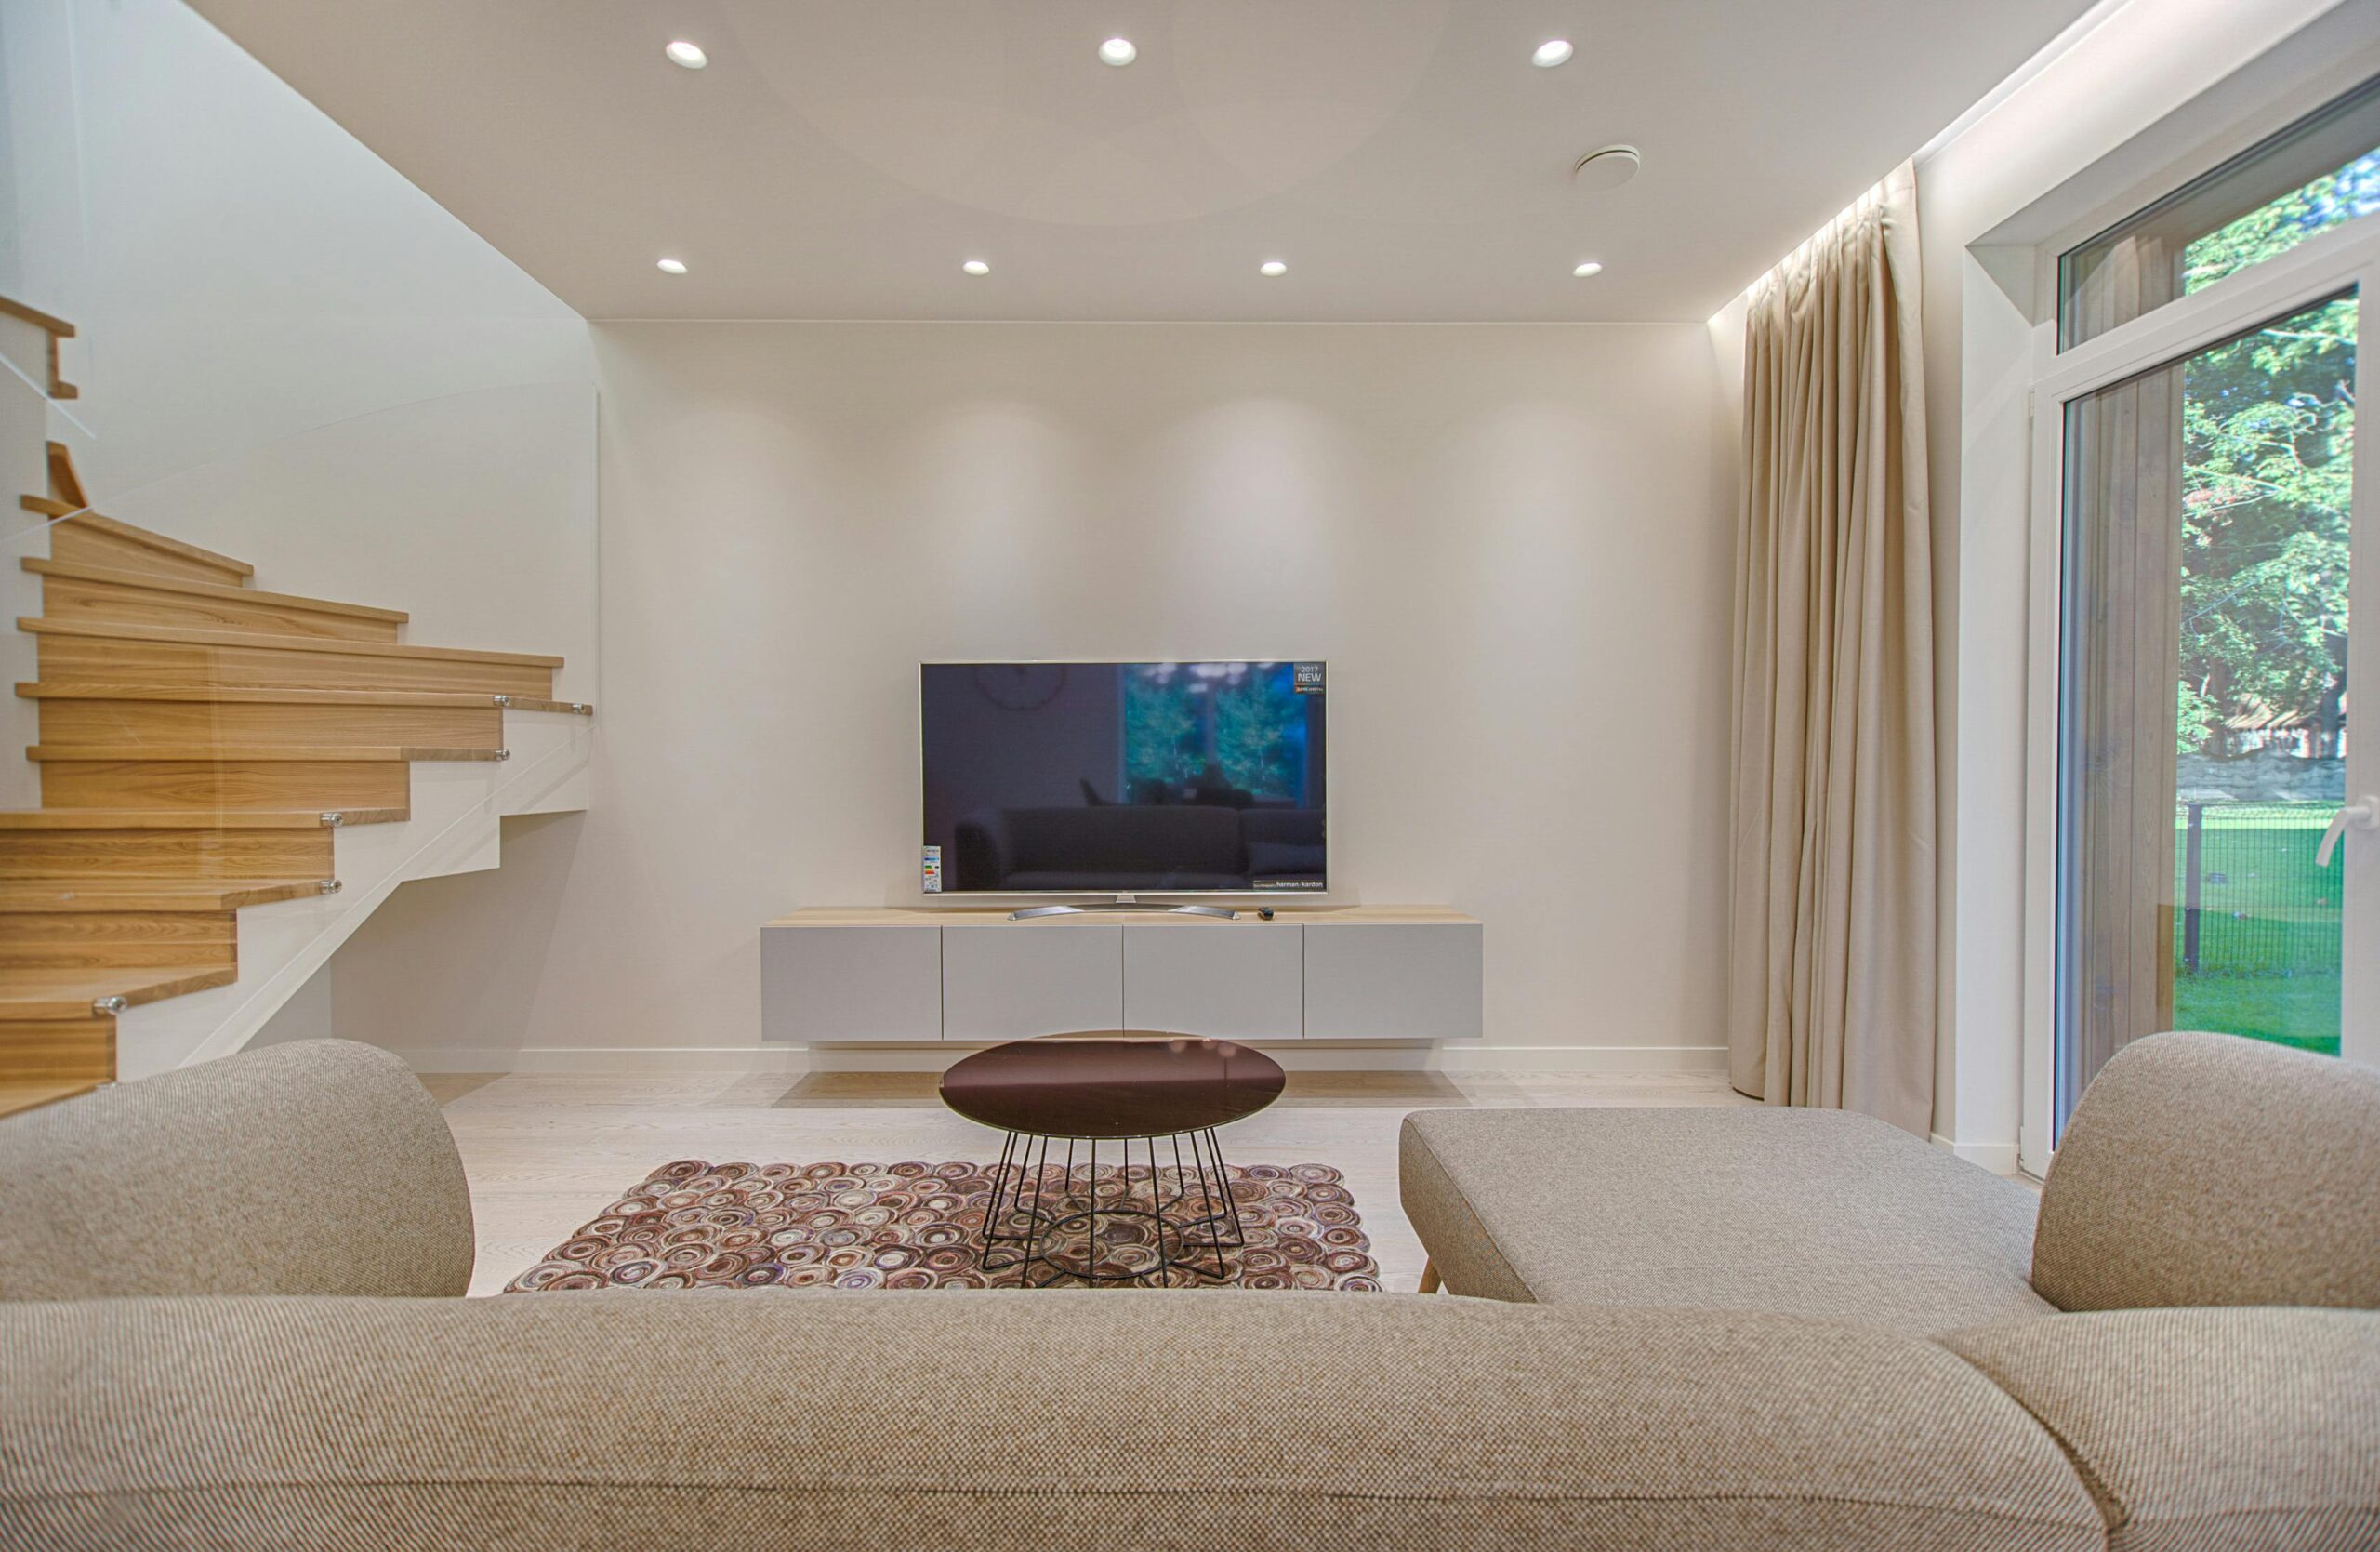
The warm minimalism of slatted wood
Slatted wood panels have become a quiet-luxury staple for studios, showrooms, and home offices. The vertical rhythm elongates walls, adds texture without visual clutter, and pairs easily with everything from plaster to stone. When backed with felt, the gaps between slats act like acoustic pockets that absorb reflections, so the surface looks architectural while working like a sound treatment. In photo and video, slats break up glare and add dimensional shadow lines that read beautifully on camera.
If you prefer subtlety, run a single feature wall behind your primary frame. For more control, wrap a corner so sound cannot ricochet between parallel planes. Mix with soft elements like wool rugs and linen drapery for a tuned, gallery-calm sound. Resources like Akupanel are helpful when you want to compare finishes, see real-world installs, and understand how different wood tones play with light.
Styling tips for camera-ready slats
Mind the scale of your slat and the spacing between them. Finer slats skew refined, wider slats read more graphic. If your setup includes key lights, angle fixtures so light grazes the wall and casts soft vertical shadows. Break the plane with a sculptural sconce or a narrow shelf to keep the backdrop from feeling too perfect. For audio, place slats near your mic position rather than across the room, then supplement with hidden absorbers behind art or inside cabinetry.
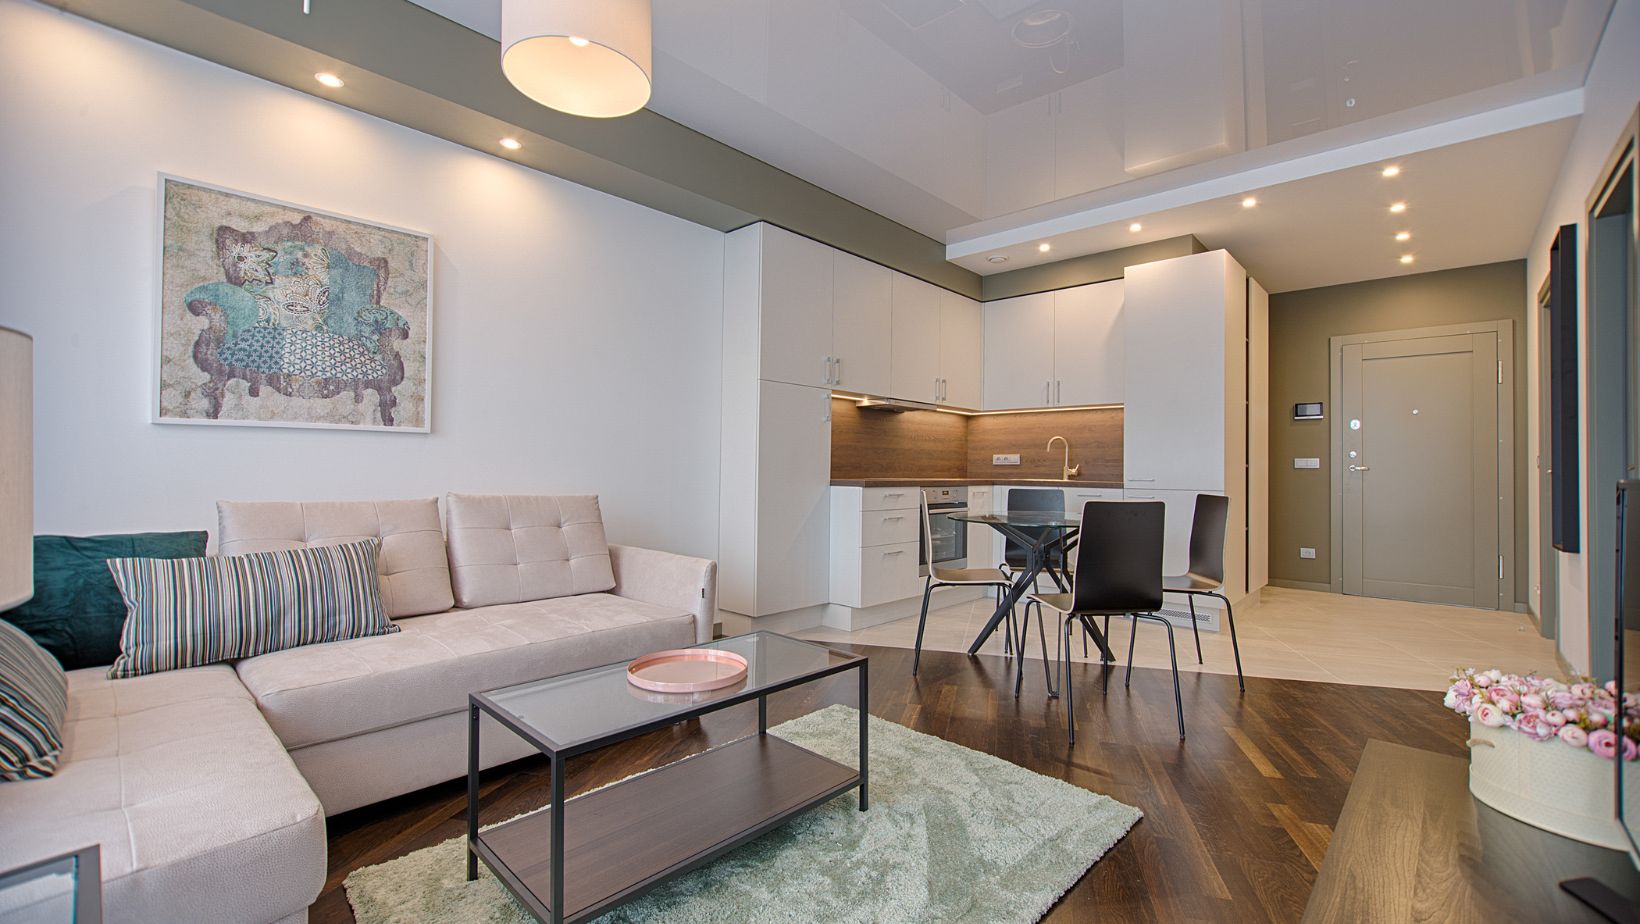
Lighting and color that flatter both faces and feeds
Sound carries the story, lighting sells the emotion. Choose LED fixtures with a high CRI rating so wood tones stay honest and skin looks natural. Warm-to-neutral temperatures between 3000K and 4000K keep spaces inviting without turning amber on camera. Use bounce light on ceilings to soften contrast, and add a narrow beam accent to rake across textures like plaster, boucle, or slat shadows.
Color matters more than most realize. Pale oak and sand paint create an airy, editorial look that feels effortless. Walnut and graphite lean cinematic and focused, great for product videos or intimate portraits. Black stain with brass details reads dramatically modern and hides gear well. Keep sheen levels low on large surfaces so reflections do not fight your subject.
Three palettes that never miss
Warm oak, mushroom beige, and bone white keep scenes bright while giving skin a gentle glow. For a moodier set, pair mid-walnut with charcoal textiles and matte black hardware. If your brand lives in bold contrast, try black-stained slats with off-white plaster and a hint of smoked bronze. Each palette supports clean audio as long as you balance them with soft finishes underfoot and around corners.
Practical planning, from budget to upkeep
Map your goals before ordering a single panel. If you create voice-heavy content, prioritize treatment behind and beside your mic. If your space hosts castings or client walk-throughs, target the entry wall and the main seating zone first. A typical room improves dramatically with 20 to 30 percent of its surfaces treated, especially at ear height. You can phase upgrades by starting with a feature wall, then adding corner wraps and ceiling clouds if needed.
Installation is approachable with basic tools, though complex corners or older walls may benefit from a pro. Use a level and measure twice to keep slats plumb. Leave space at baseboards for expansion, and choose finishes that are easy to dust with a microfiber cloth. Ask vendors for fire ratings and maintenance guidance, especially for commercial settings. Sustainable options made with certified wood and recycled felt are increasingly standard, which is good for both air quality and brand values.
A 48-hour makeover plan
Day 1: declutter and soft-proof. Roll out a dense rug, hang two lined curtains, and arrange a bookcase with varied depths. Mark first reflection points with painter’s tape. Day 2: install a slatted feature wall behind the camera or wrapping a corner, add two dimmable sconces for texture, then record a 10-second voice memo before and after. You will hear tighter mids, fewer reflections, and a calmer noise floor. The room will also photograph like a set, which is the point.
Sound-first design does not steal attention from your work. It frames it. With a few smart choices, your space can look editorial, feel inviting, and deliver the clarity your audience subconsciously expects every time they press play.
Foto door Ketut Subiyanto: https://www.pexels.com/nl-nl/foto/vrouw-mevrouw-laptop-computer-4474019/