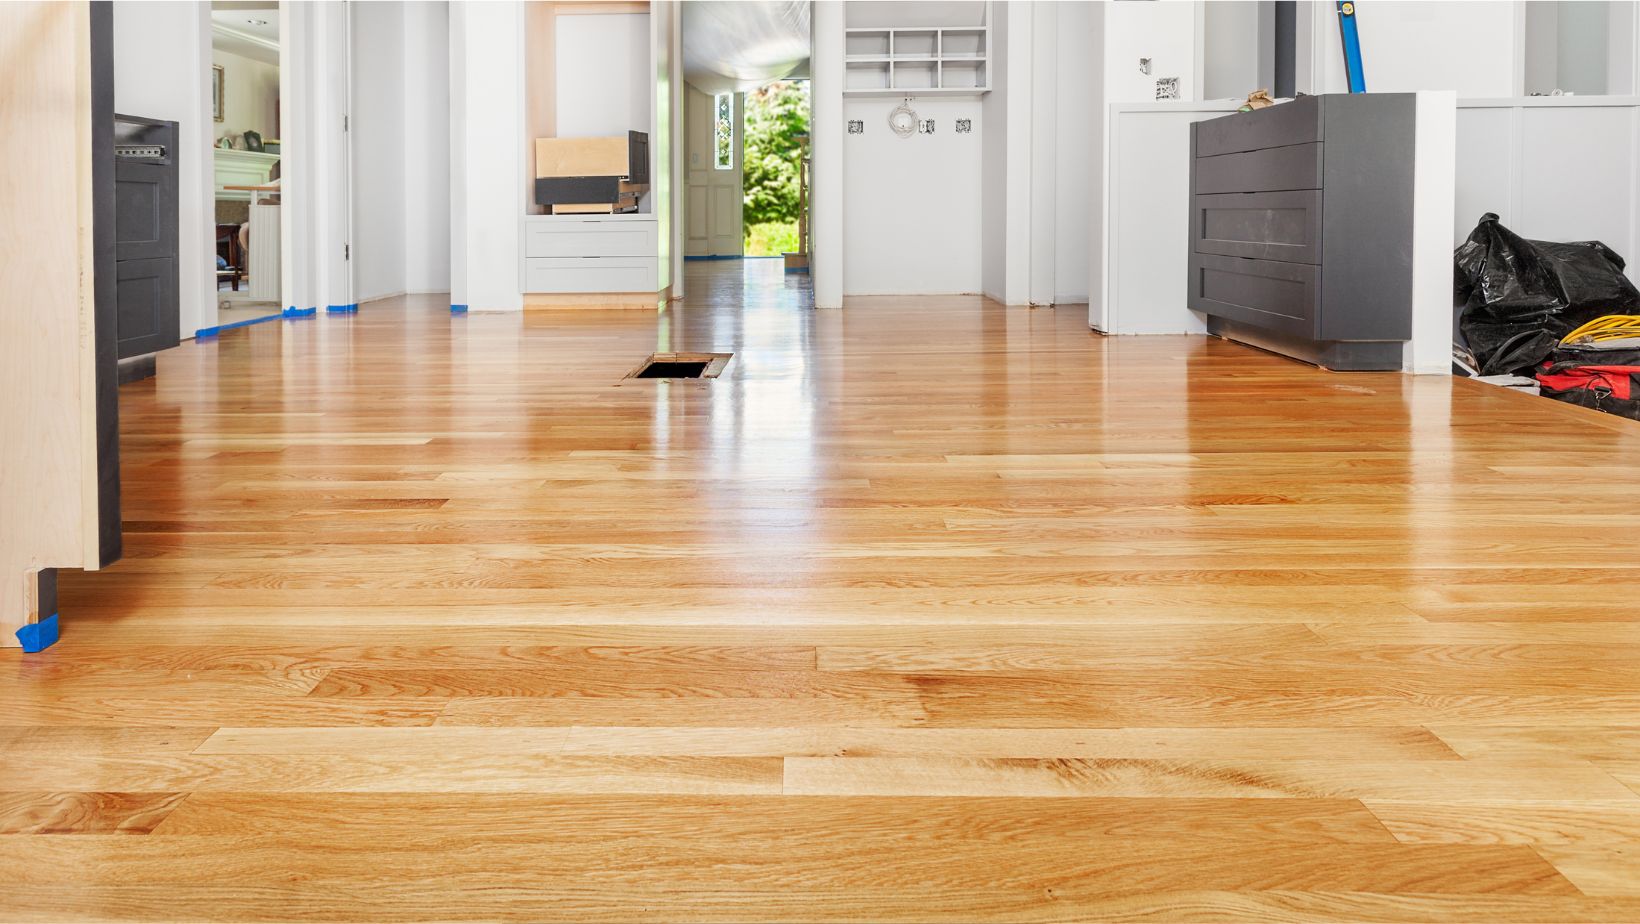
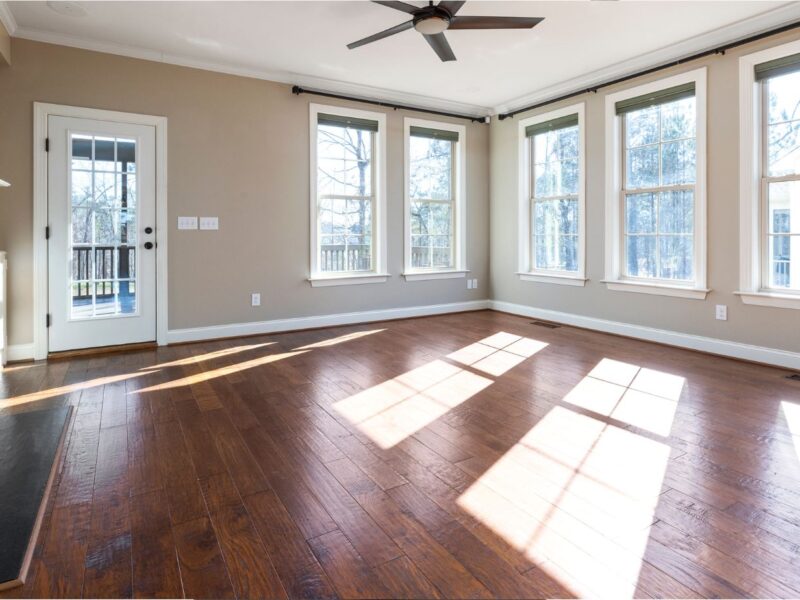
Refinishing hardwood floors can breathe new life into a home, restoring the beauty and character of wood that may have been hidden under years of wear and tear. However, this process is not without its pitfalls. Many homeowners and even some professionals make crucial mistakes that can lead to subpar results or even damage to the flooring. In this comprehensive guide, we’ll explore the top mistakes to avoid when refinishing hardwood floors, ensuring that your project yields the best possible outcome.
Inadequate Preparation
One of the most critical steps in refinishing hardwood floors is proper preparation, yet it’s often where many go wrong. Inadequate preparation can lead to a host of problems down the line.
First and foremost, failing to thoroughly clean the floor before beginning the refinishing process is a major mistake. Any dirt, dust, or debris left on the surface can become embedded in the finish, creating an uneven texture and compromising the overall look. It’s essential to sweep, vacuum, and then clean the floor with an appropriate hardwood cleaner to remove all traces of dirt and grime when preparing for hardwood floor refinishing in Edmonton.
Another aspect of preparation that’s often overlooked is repairing any existing damage. Ignoring loose boards, visible nails, or deep scratches and dents before refinishing will only result in these imperfections being more noticeable after the job is complete. Take the time to address these issues, securing any loose boards, countersinking exposed nails, and filling deep scratches or gouges with wood filler.
Lastly, many forget to remove all furniture and cover the remaining fixtures. Even small items left in the room can create obstacles and lead to uneven sanding or finishing. Cover vents, electrical outlets, and baseboards to protect them from dust and stray finishes.
Skipping Sanding or Improper Sanding Techniques
Sanding is a crucial step in the refinishing process, yet it’s where many mistakes occur. Some may be tempted to skip sanding altogether, especially if the floor doesn’t appear to be in bad condition. However, proper sanding is necessary to remove the old finish and create a smooth surface for the new finish to adhere to.
When it comes to sanding, using the wrong grit sequence is a common error. Starting with grit that’s too fine won’t effectively remove the old finish or level the floor while beginning with a grit that’s too coarse can create deep scratches that are difficult to remove. Generally, it’s best to start with a coarse grit (36-60) and progressively move to finer grits (80-100, then 120-150).
Another mistake is not sanding evenly or rushing through the process. This can result in visible swirl marks or an uneven surface. Take your time and make sure to sand the entire floor consistently, paying extra attention to corners and edges.
Neglecting to vacuum between sandings is also a frequent oversight. Dust left behind can create imperfections in the finish. Thoroughly vacuum and tack the floor between each sanding to ensure a clean surface.
Choosing the Wrong Finish
Selecting the appropriate finish for your hardwood floors is crucial, yet many make the mistake of choosing based solely on appearance or price. Each type of finish — polyurethane, varnish, shellac, or oil — has its own characteristics in terms of durability, sheen, and application method.
Water-based polyurethane is popular for its quick drying time and low odor, but it may not be as durable as oil-based alternatives. Oil-based polyurethane offers excellent durability and a rich amber hue, but it takes longer to dry and has a strong odor. Natural oil finishes bring out the beauty of the wood but require more frequent maintenance.

Consider factors such as the type of wood, the level of traffic the floor will endure, and your personal preferences when selecting a finish. Don’t hesitate to consult with professionals or test small areas with different finishes before making a final decision.
Improper Application of Stain or Finish
Even with the right products, improper application can lead to disappointing results. A common mistake is applying a stain or finishing too thickly. This can result in a sticky surface, longer drying times, and an uneven appearance. Always follow the manufacturer’s instructions regarding application thickness and drying times.
Another error is not stirring the product thoroughly before and during application. This is especially important with stains and oil-based finishes, as the pigments or flattening agents can settle at the bottom of the can. Failing to stir can result in an inconsistent color or sheen.
Applying a finish in poor lighting conditions is another oversight. Good lighting is essential to spot any missed spots, puddles, or imperfections as you work. Natural daylight is ideal, but if that’s not possible, ensure you have bright, even lighting throughout the space.
Inadequate Drying Time
Patience is key when refinishing hardwood floors, yet many rush the process by not allowing adequate drying time between coats or before using the floor. This can lead to smudges, streaks, or even peeling of the finish.
Different products have different drying and curing times. While a surface may feel dry to the touch, it might not be fully cured and ready for foot traffic or furniture. Water-based finishes generally dry faster than oil-based ones, but they still need time to fully cure. Always follow the manufacturer’s recommendations for drying times, and err on the side of caution by waiting a little longer if possible.
Remember that temperature and humidity can affect drying times. In high humidity or cold temperatures, it may take longer for finishes to dry properly. Consider using fans to improve air circulation, but be cautious not to kick up dust onto the wet finish.
Neglecting Proper Ventilation
Proper ventilation is crucial when refinishing hardwood floors, not just for your health but also for the quality of the finish. Many forget this important aspect, leading to potential health hazards and subpar results.
Failing to ventilate adequately can trap fumes from finishes and stains, which can be harmful if inhaled. It can also slow down the drying process and potentially affect how the finish cures. Open windows and use fans to create cross-ventilation. If the weather doesn’t permit open windows, consider using air purifiers with activated carbon filters to help remove VOCs (volatile organic compounds) from the air.
However, be cautious not to create too much airflow directly over the wet finish, as this can lead to dust and debris settling on the surface. Strike a balance between good air circulation and protecting the wet finish.
Inconsistent Wood Moisture Content
Wood is hygroscopic, meaning it absorbs and releases moisture based on its environment. Refinishing floors without considering the wood’s moisture content can lead to significant problems.
If the wood’s moisture content is too high when you apply the finish, it can lead to bubbling, peeling, or clouding of the finish as moisture tries to escape. Conversely, if the wood is too dry, it may absorb too much of the finish, leading to an uneven appearance.
Use a moisture meter to check the wood’s moisture content before beginning the refinishing process. The ideal moisture content is typically between 6% and 9%, but this can vary depending on your local climate. If the moisture content is outside this range, you may need to acclimate the wood by adjusting the room’s temperature and humidity before proceeding.
Overlooking the Importance of Grain Direction
The direction of the wood grain plays a crucial role in how you should approach sanding and finishing. A common mistake is sanding or applying a finish perpendicular to the grain, which can result in visible scratches and an uneven appearance.
When sanding, always move the sander in the direction of the grain. This helps to smooth the surface without creating cross-grain scratches that can be difficult to remove. The same principle applies when applying stain or finish – work in the direction of the grain for the most natural and attractive result.

In rooms with wood laid in different directions, such as parquet floors, this can be more challenging. In these cases, it’s often best to sand in alternating diagonal directions to avoid going against the grain as much as possible.
Failing to Test Products Beforehand
One of the biggest mistakes is diving into the refinishing process without testing products first. This can lead to disappointment with the color of a stain or the sheen of a finish, or even worse, a reaction between the new products and any remnants of the old finish.
Always test stains and finishes on a small, inconspicuous area of the floor or on a sample piece of the same wood. This allows you to see how the product will look when dry and how it interacts with your specific wood. Remember that different wood species can accept stains differently, and the final color can vary significantly from how it appears in the can or on a sample chip.
Testing also gives you a chance to practice your application technique and get a feel for how the product behaves. This can help you avoid mistakes when working on the entire floor.
DIYing When Professional Help is Needed
While many aspects of home improvement can be handled as DIY projects, refinishing hardwood floors isn’t always one of them. A common mistake is underestimating the skill, effort, and equipment required to do the job properly.
Refinishing hardwood floors involves heavy equipment like drum sanders, which can be difficult for inexperienced users to control. Improper use can result in gouges or an uneven floor. There’s also the risk of sanding too much and reducing the lifespan of your flooring.
Moreover, achieving a smooth, even finish requires practice and skill. Professionals have the experience to deal with unexpected issues that may arise during the process, such as discovering hidden damage or dealing with uneven areas.
If you’re unsure about your ability to handle the job or if your floors have significant damage or unique features like intricate inlays, it’s often best to consult with or hire a professional. The investment can save you from costly mistakes and ensure a beautiful, long-lasting result.
Conclusion
Refinishing hardwood floors can be a rewarding project that dramatically improves the look of your home. By avoiding these common mistakes, you can ensure that your refinishing project goes smoothly and results in beautiful, durable floors that will last for years to come. Remember, proper preparation, patience, and attention to detail are key to success. When in doubt, don’t hesitate to seek advice from professionals or consider hiring experienced contractors to handle the job. With the right approach, your refinished hardwood floors can become a stunning feature of your home, enhancing its beauty and value.


