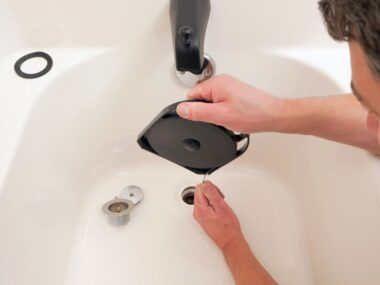
Spackling is a great way to cover up holes in the walls of your home, and it will help keep them from reappearing when your children start using their fists to swing at each other. But before you spackle any holes, be sure that all of the dust has been cleaned out of the wall so that your end result looks its best. To start, you will want to gather your supplies. You will need a putty knife, some fine-grit sandpaper, a dust cloth, and of course, spackle. You can find all of these items at any hardware store. Once you have your supplies gathered, it’s time to start filling in those holes.
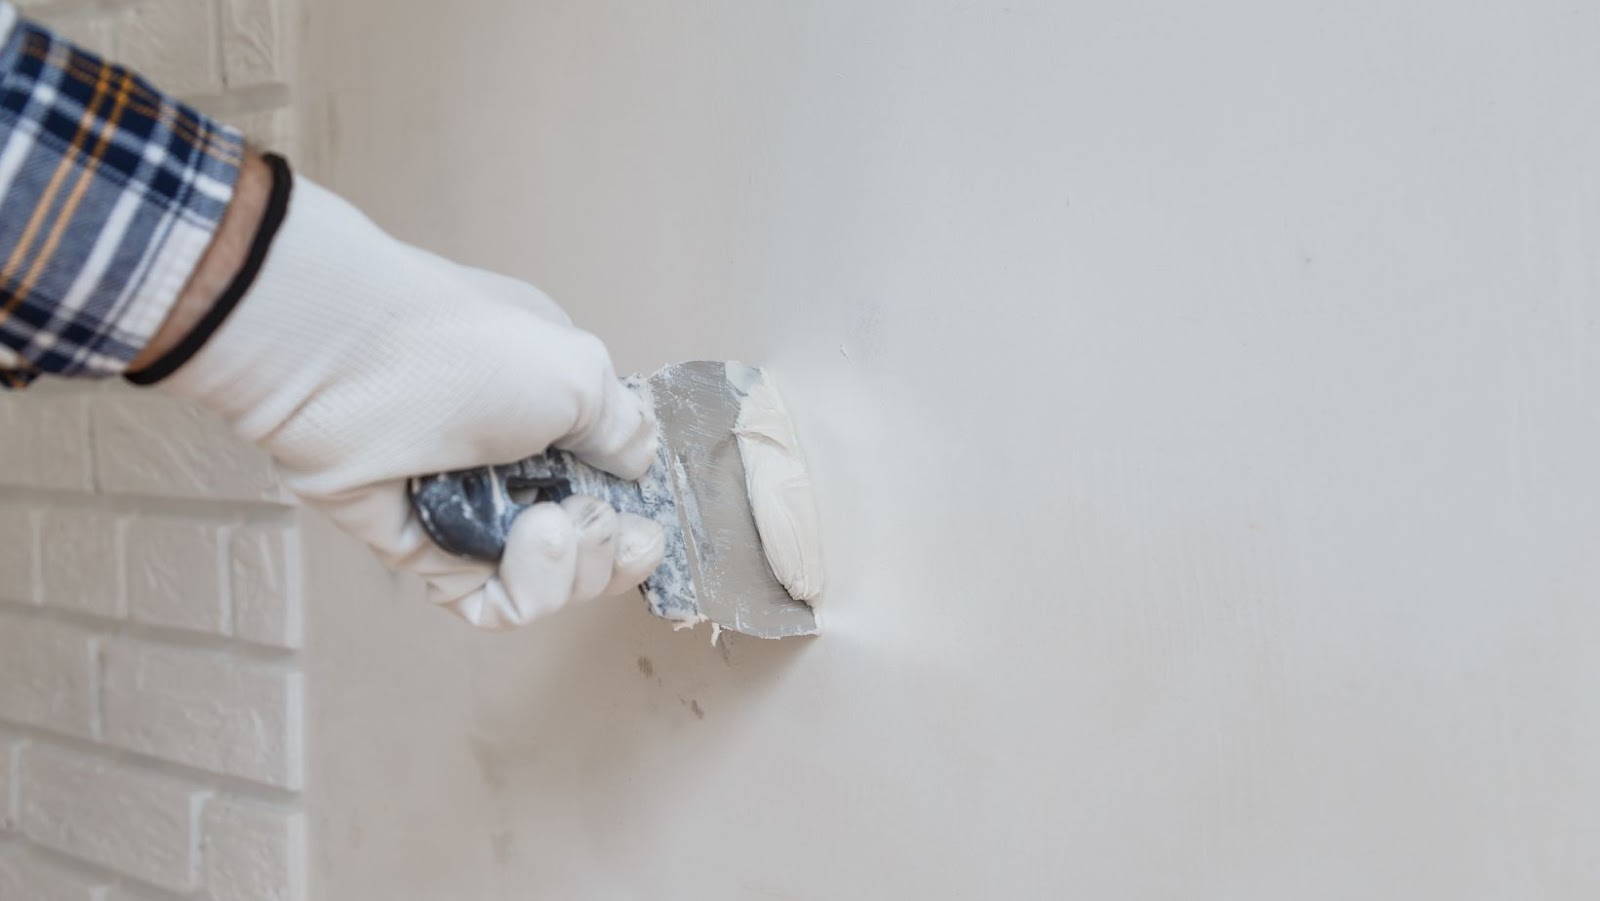
To begin, apply a small amount of spackle to the putty knife. You don’t want to use too much, or it will be difficult to spread evenly. Once you have a small amount on the knife, start spreading it into the hole in the wall. Work slowly and carefully so that you don’t create any air bubbles or cracks in the spackle. Once you have filled in the hole, let it dry completely before sanding it down. This will ensure that your wall is smooth and even. If there are any larger cracks or crevices, apply a bit more spackle to them and then sand again once they’ve dried.
Spackle vs joint compound
One of the main differences between spackle and joint compound is that spackle dries quickly, while joint compound takes much longer to dry. This can be an advantage or a disadvantage, depending on your needs. If you need to fill in a hole quickly, spackle is the way to go. But if you have more time and need a stronger bond, joint compound is the better option.
Spackle is also much easier to sand than joint compound. If you’re not careful, joint compound can create a lot of dust when you’re sanding it down. And if you’re doing work in a small space, that dust can be difficult to clean up. With spackle, there’s much less dust created during the sanding process.
Preparation is key – make sure the surface is clean and dry before spackling.
Use a putty knife to flatten out any bumps or ridges, and then apply the spackle. Once it’s dry, use fine-grit sandpaper to smooth out the surface. If you notice any bigger cracks or crevices after you’ve done this, simply reapply more spackle and sand again once it’s dry. With a little bit of practice, you’ll be a spackling pro in no time! Just remember to take your time, and don’t be afraid to ask for help if you’re unsure about anything. Good luck!
Apply a thin layer of spackle to the surface using a putty knife.
Use a light sanding block or sandpaper to lightly sand the dried spackle until it is level with the surrounding surface. For bigger cracks or crevices, apply more spackle and let dry completely before sanding. Repeat as necessary until all cracks and holes are filled. If you’re having trouble getting your spackling to stick, try applying a small amount of wallpaper paste over the surface before adding the spackle. This will help it adhere better and form a stronger bond. And remember, be sure to clean up any excess spackle or dust from sanding before you paint over the area!