Why Slatted Walls Are Having A Moment
Warm texture, subtle depth, and a tailored look are the reasons slatted walls keep showing up in beautifully designed homes. The rhythm of the slats creates soft shadows across the day, which makes even a simple room feel layered and intentional. In open-plan spaces, the vertical lines visually lift the ceiling and add architecture where there was none.
There is also a practical side. Felt-backed or acoustically designed slats can hush echo in living rooms and media spaces, which matters if you have hard floors and tall ceilings. Designers use them to define zones, conceal small imperfections in walls, and add interest without heavy pattern. Done well, the look reads modern yet timeless.
Choosing The Right Species, Tone, And Layout
Start with wood tone. Light oak brightens and pairs well with Scandinavian or coastal palettes, while walnut introduces richness that flatters marble, brass, and traditional millwork. If your space already has strong wood elements like floors or beams, aim for either a subtle match or a complementary contrast two to three shades lighter or darker.
Decide on orientation. Vertical slats elongate walls and feel crisp. Horizontal slats stretch rooms visually and suit wide feature walls behind a sofa or bed. For smaller rooms, try a half-height or three-quarter-height treatment with a simple cap rail so the paneling feels custom rather than heavy. Not sure where to begin? Study the dimensions and finishes of a wood slat wall panel, then tape those proportions on your wall to test scale before you commit.
Room-By-Room Ideas That Work
Living room and media wall
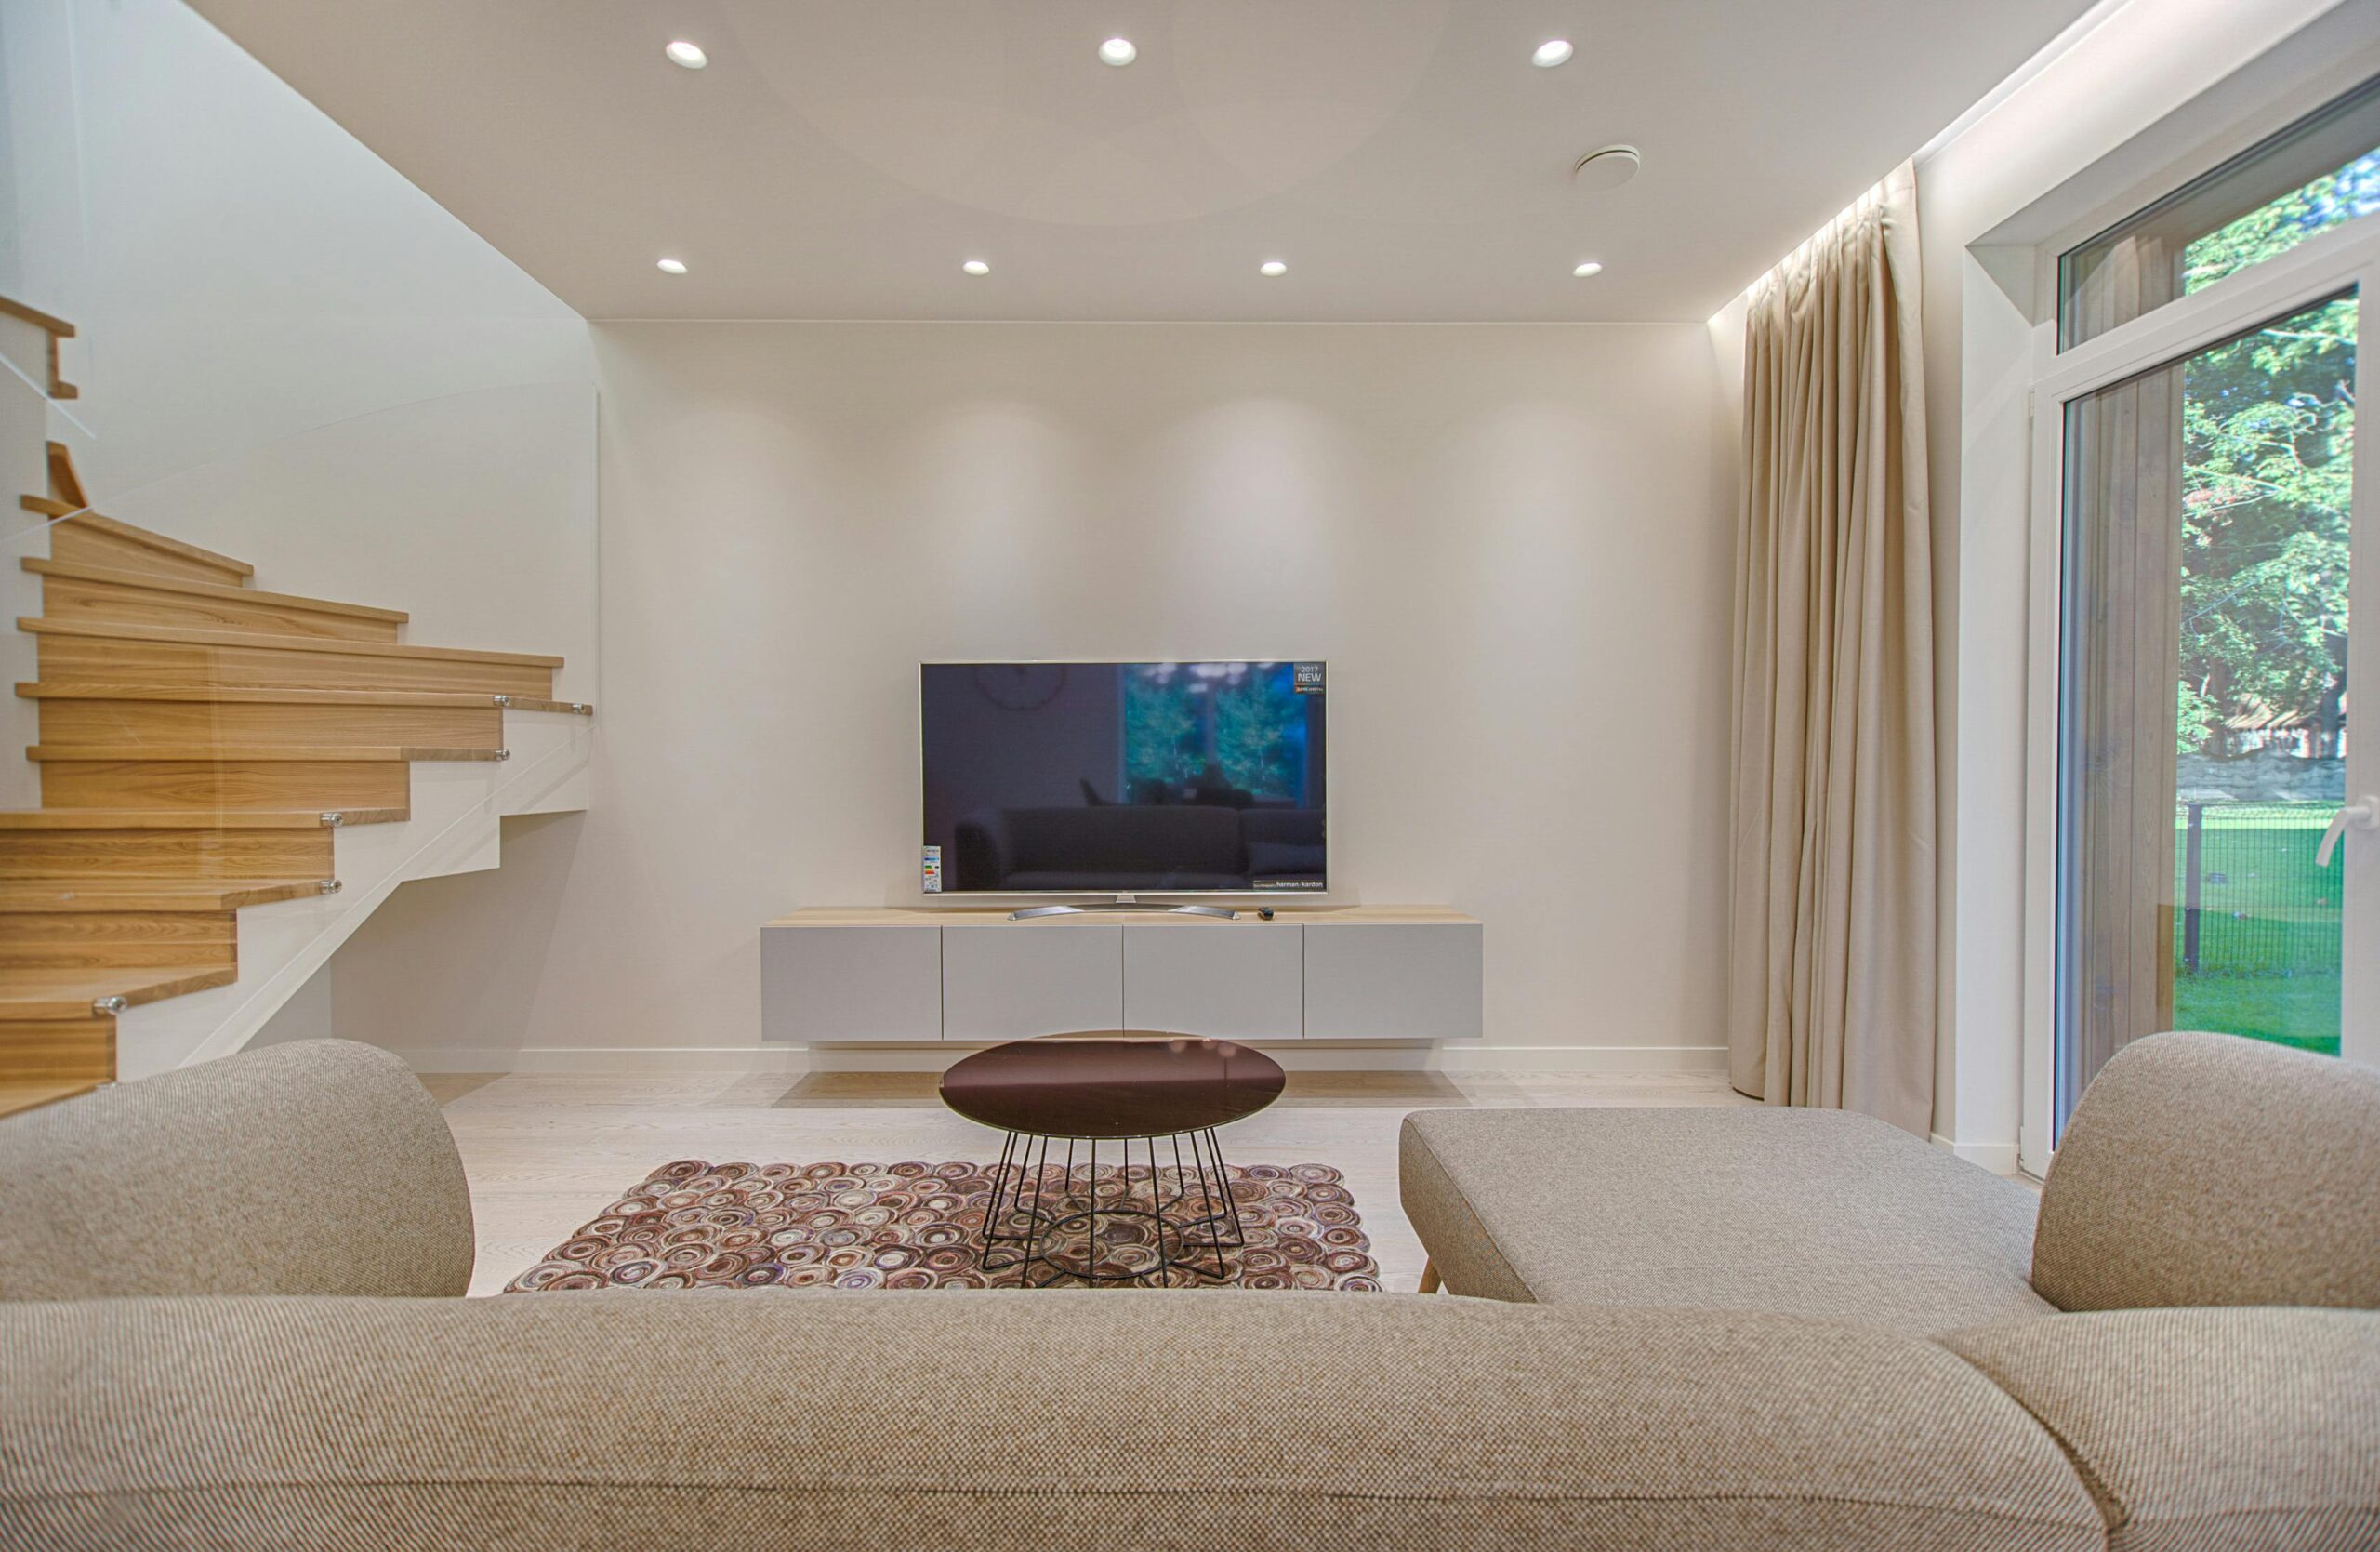
Anchor the TV wall with slats to balance screens and speakers. Run wiring behind the battens and center the TV on a seamless expanse. If you plan a floating console, mount it first and run the slats to the top and sides so everything reads built-in. Add a plush rug and heavy curtains to finish the acoustic story, then keep decor edited so the texture remains the star.
Bedroom headboard feature
Extend slats behind the bed the full width of the wall for a boutique-hotel feel. A mid-tone wood softens cool bedding and stone-topped nightstands. If ceilings are low, stop the paneling a few inches below the crown line and paint the upper band the ceiling color to give the illusion of height. Sconces mounted on the slats save space and look tailored.
Kitchen and hallway accents
In kitchens, use slats on the island back or breakfast nook to warm painted cabinetry. Choose a finish that complements the floor, not an exact match, to avoid a one-note look. In hallways, a narrow panel near the entry creates a moment of texture that hides scuffs and frames a mirror or peg rail. Consider moisture-resistant finishes for areas close to sinks or exterior doors.
Lighting, Trim, And Paint Pairings
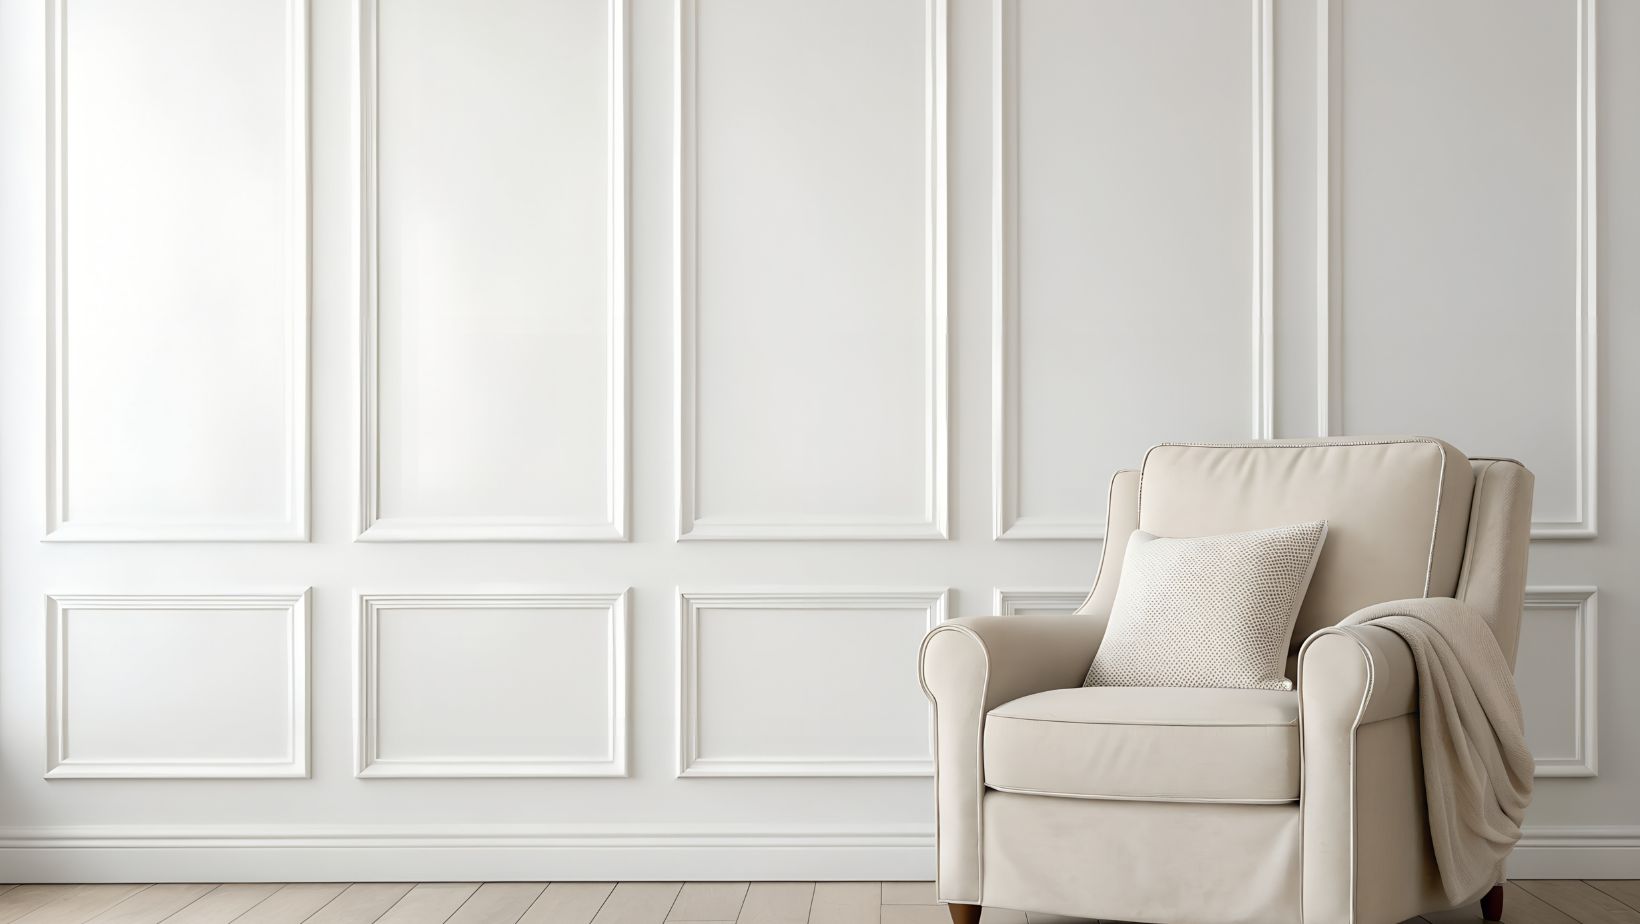
Light brings slatted walls to life. A slim LED channel along the ceiling or base casts a gentle wash that emphasizes the vertical lines. Wall washers mounted a foot from the panel create soft shadows without glare. For trim, keep baseboards simple and clean. If your home has traditional profiles, paint the adjacent walls a complementary neutral so the wood reads purposeful, not random. Deep blue-gray, stone, and creamy white are versatile partners that flatter both pale oak and dark walnut.
If you crave drama, paint the surrounding walls and ceiling one tone and let the wood be the only natural element in the room. For an airy mood, pair slats with pale walls, linen drapery, and matte black fixtures for contrast.
Installation Tips For A Pro-Level Finish
Prep matters. Check walls for level, mark studs, and decide where seams will fall before opening the boxes. If you need sound control, add mineral wool between furring strips and choose panels with acoustic backing. Dry-fit several sections to confirm pattern continuity, then work from a visible corner toward a less visible one so any minor adjustments land where they are least noticed.
Mind the details. Scribe around outlets and use matching trim at outside corners for a crisp edge. If panels meet a ceiling with slight waves, caulk sparingly and finish with a narrow shadow gap rather than forcing a tight fit that highlights imperfections. Leave a small expansion gap at floors, then cover with baseboard for a seamless look. To maintain, dust with a soft brush attachment and treat scuffs with a wood-safe cleaner. A little care keeps the texture rich and the lines sharp for years to come.