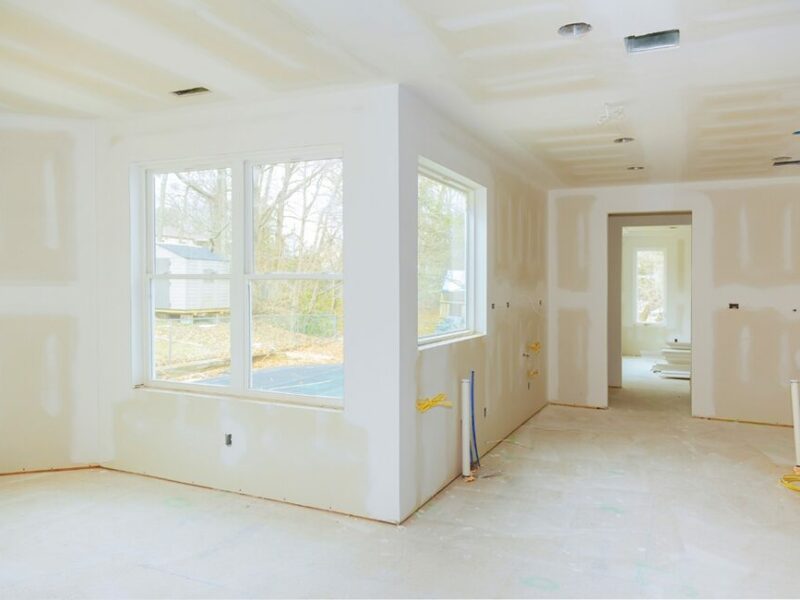
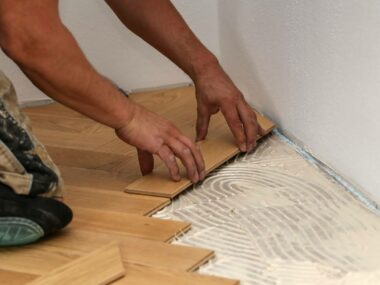
Drywall repairs are very important because they can make the overall result smooth and professional-looking. You would want to get rid of those bubbles and marks, right? If so, then patchwork is something that you should take advantage of, whether it’s minor flaws or huge holes.
Extra coats of paint are not enough because the truth of the matter is that everything is better handled with drywall. If you’re unsure of what to do and the kind of materials to use, then you might want to get in touch with the Patch & Paint Pros who will be able to get these jobs done for you in no time. They are skilled and knowledgeable when it comes to these jobs, so you might want to give them a try. Find them using the information below:
Commons Wall Flaws and Their Fixes
Extensive Water Damage – When this is the case in your home, you would need to replace the entire sheet, especially if the structure is already compromised. Professionals are often going to find the source of the leak or address the root of the problem, so you won’t experience this again. Quality filters are then applied, and this can serve as a repair. See information about leaks on this website here.
Holes – Spackling compound is used to treat the small holes, and a putty knife is used to spread the filler in a thin layer to avoid overfilling. After the second coat, the sandpaper is used again on the surface, and if there are multiple holes, the entire damaged section may need a replacement. Utilizing screws are going to be used to attach the existing studs, and there will be a quick-drying joint compound to fill in the gaps.
Loose Tapes – Those that are bubbling and peeling away should need to be repaired. The knife can cut around the bubbles, and a new strip will be applied. Sanding the imperfections away is also part of the process. Proper preparation and cleaning are the keys to a better result, and this is where a professional can help you the most.
What are the Common Dos and Don’ts with Drywall?
Do’s:
Clean the Surface: Before you start any repair work, ensure the surface is clean. Remove dust, dirt, and any loose particles from the damaged area. Learn information about drywall works at this link: https://home.howstuffworks.com/home-improvement/home-diy/projects/drywall.htm.
Use the Right Tools: Invest in quality tools for repair, including a putty knife, sandpaper, joint compound, and a patch. If you’re unsure of what to do, you can always call the professionals.
Apply Primer: After the repair work is done, add a coat of primer to the repaired area. This material helps the paint adhere better and ensures a smooth finish.
Sand Smooth: Once the joint compound is dry, sand the repaired area until it’s smooth and level with the surrounding wall. Use fine-grit sandpaper for the best results.
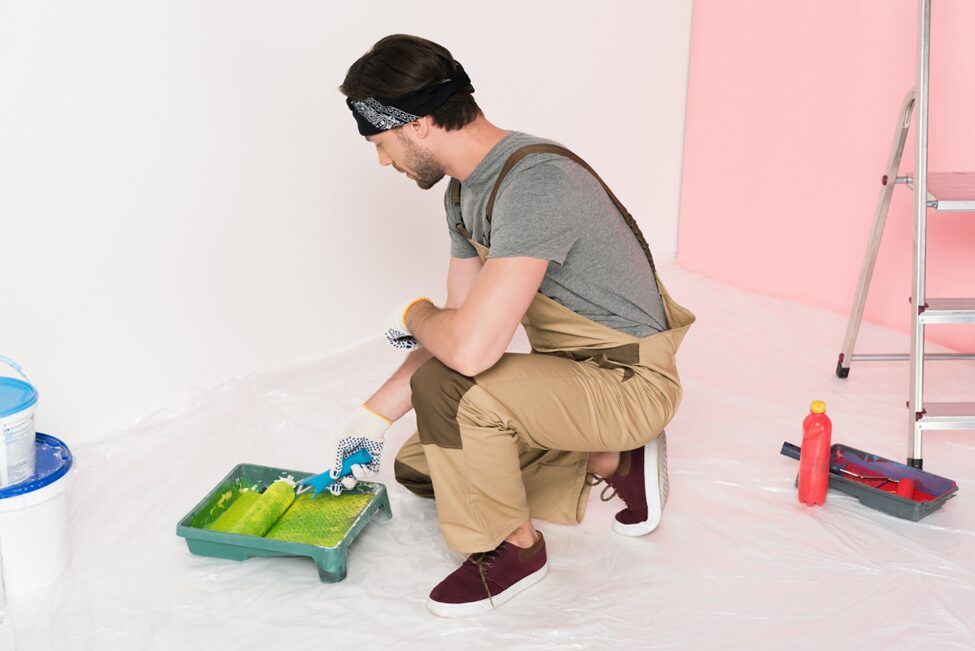
Blend the Repair: Feather out the edges of the repair area to blend it seamlessly with the rest of the wall. This will help prevent noticeable differences in texture once painted.
Apply Multiple Thin Coats: When applying joint compound, it’s better to apply multiple thin coats rather than a thick one all at once. This will help prevent cracking and ensure a smoother finish.
Allow Sufficient Drying Time: Make sure each layer of joint compound and primer is completely dry before proceeding to the next step. Rushing the drying process can lead to problems later on.
Inspect Carefully: After completing the repairs, inspect the area carefully to ensure that it’s smooth and free of imperfections before painting.
Don’ts:
Don’t Skip Patching Holes Properly: Properly patch any holes or cracks in the drywall before painting. Failing to do so will result in an uneven surface and a poor paint finish.
Don’t Overlook Sanding: Sanding is a crucial step in drywall repair. Skipping or rushing through this step will result in a rough surface that will be visible through the paint.
Don’t Apply Too Much Joint Compound: Applying too much joint compound can lead to bulging or cracking once it dries. Use a light touch and feather out the edges to blend the repair seamlessly with the surrounding wall.
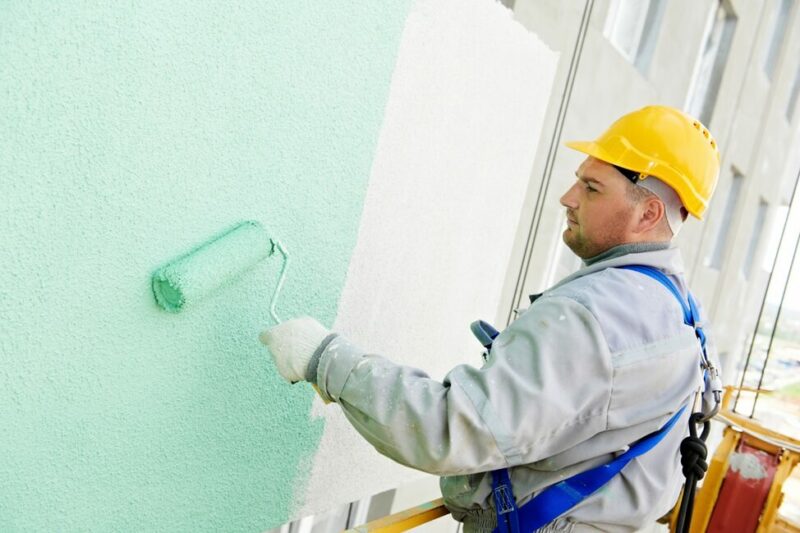
Don’t Rush the Process: Drywall repair takes time and patience. Rushing through the process will likely result in subpar results. Take your time and allow each step to properly dry before moving on to the next.
Why Should You Call the Experts?
Professional Finish
Attention to detail sets professional paint jobs apart from amateur endeavors. Prioritizing drywall work before painting helps lay the groundwork for a professional finish that exudes quality and craftsmanship. From meticulously patched holes to seamlessly blended seams, every aspect of your drywall contributes to the overall polish and professionalism of the final result.
Cost-Effective Solution
While it may seem tempting to cut corners and skip repairs in favor of a quick paint job, doing so can ultimately prove to be a costly mistake. Ignoring minor issues now can result in more significant problems later, necessitating extensive repairs and additional expenses. Proactively addressing everything can help mitigate the risk of future damage and minimize the need for costly repairs down the line, ultimately saving you time, money, and hassle in the long run.
Personalized Customization
Drywall is an opportunity to customize and personalize your space. Whether it’s adding architectural details like wainscoting or installing built-in shelving, drywall serves as the foundation for these enhancements. When you’re able to address drywall needs before painting, you create a blank canvas upon which you can unleash your creativity, bringing your vision for the space to life with precision and finesse.
