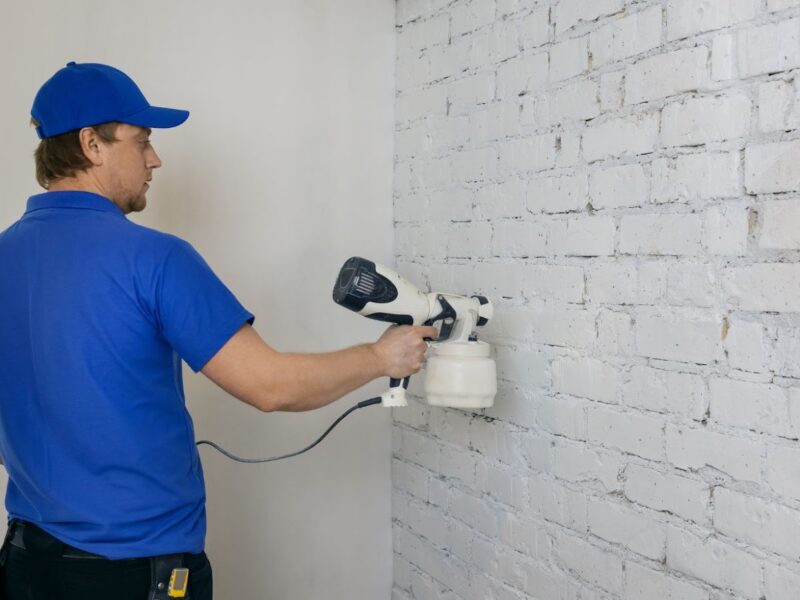
One of the most common problems when using a paint sprayer to apply paint is getting an orange peel texture on your walls. This problem can be prevented by following a few simple steps:
Use a nozzle size and pressure that are appropriate for the project at hand. Using too large of a nozzle or excessive pressure will cause your paint to dry with a rough texture. Apply multiple light coats, rather than one thick coat. This will prevent the paint from drying too quickly and causing an undesirable texture. Give your walls ample time to dry between coats, and be sure not to touch them until they are completely dry. Doing so can cause “fingerprints” in the paint, which will cause a rough texture. Practice your spraying technique on scrap pieces of wood or cardboard before applying it to your walls. This will help you get comfortable with the process and avoid any unexpected mistakes along the way. With these tips, you can use a paint sprayer to apply paint without getting an orange peel texture on your walls.
How to use paint sprayer
To use a paint sprayer, first you will need to gather your materials. You will need paint, thinner, a funnel, and a clean cloth. Next, you will need to thin your paint using the funnel. After the paint is thinned, you can begin to add paint to the reservoir of your paint sprayer. Finally, you will need to adjust the settings on your paint sprayer to get the perfect coat of paint. Follow these steps and you’ll be able to use a paint sprayer like a pro!
Using a paint sprayer is a great way to quickly and easily apply paint to large surfaces. However, there are some important steps that you will need to take to get the best results with your paint sprayer.
The first thing that you will need to do is gather your materials. You will need paint, thinner, a funnel, and a clean cloth. If you are using latex paint, you may need to add a small amount of water or glaze to your paint before adding it into your sprayer.
Once you have all of your materials together, you will need to thin the paint using the funnel. You can do this by adding the appropriate amount of thinner to your paint and mixing it thoroughly.
Next, you can begin adding paint to the reservoir of your paint sprayer. This will depend on the size of your sprayer and how much paint you need, but generally a thin coat is better than a thick one when using spray paint.
Finally, you will need to adjust the settings on your paint sprayer to get the perfect coat of paint. This will depend on the type of surface that you are painting, as well as how thick or thin you have made your paint. A general rule is to start out with a smaller setting and work up if needed. With a little practice, you’ll soon be able to use your paint sprayer like a pro!
Choose the right paint sprayer for your project
When choosing a paint sprayer for your project, there are several things to consider. The most important factor is the type of surface that you are working with. There are several different types of paint sprayers available, including handheld models, electric models, and airless sprayers. Each of these options has its own advantages and disadvantages depending on the project at hand.
Follow the instructions carefully to avoid problems
Follow the instructions carefully to avoid problems when using a paint sprayer. You should always wear protective gear, such as goggles and gloves, to prevent injury from overspray or accidental splashes. Before you begin your project, it is also important to prepare the surface that you are working on. This may involve cleaning or sanding the surface to remove any debris or unevenness, which can interfere with the paint sprayer.
Once you have your materials and surface ready, you can begin to use your paint sprayer. Start by adding the appropriate amount of thinner or other additives to your paint if necessary, making sure to mix it thoroughly. Then, fill up your paint reservoir and adjust the settings on your paint sprayer to get the perfect coat of paint. Follow these tips and you’ll be able to use a paint sprayer like a pro!


