Most renovation regrets don’t come from bad contractors or unlucky timing. They come from decisions that looked fine on paper but turned out wrong in real life — layouts that felt awkward, finishes that clashed, or walls that came down only to reveal the room wasn’t any bigger. Visualization helps you catch those problems before the work starts.
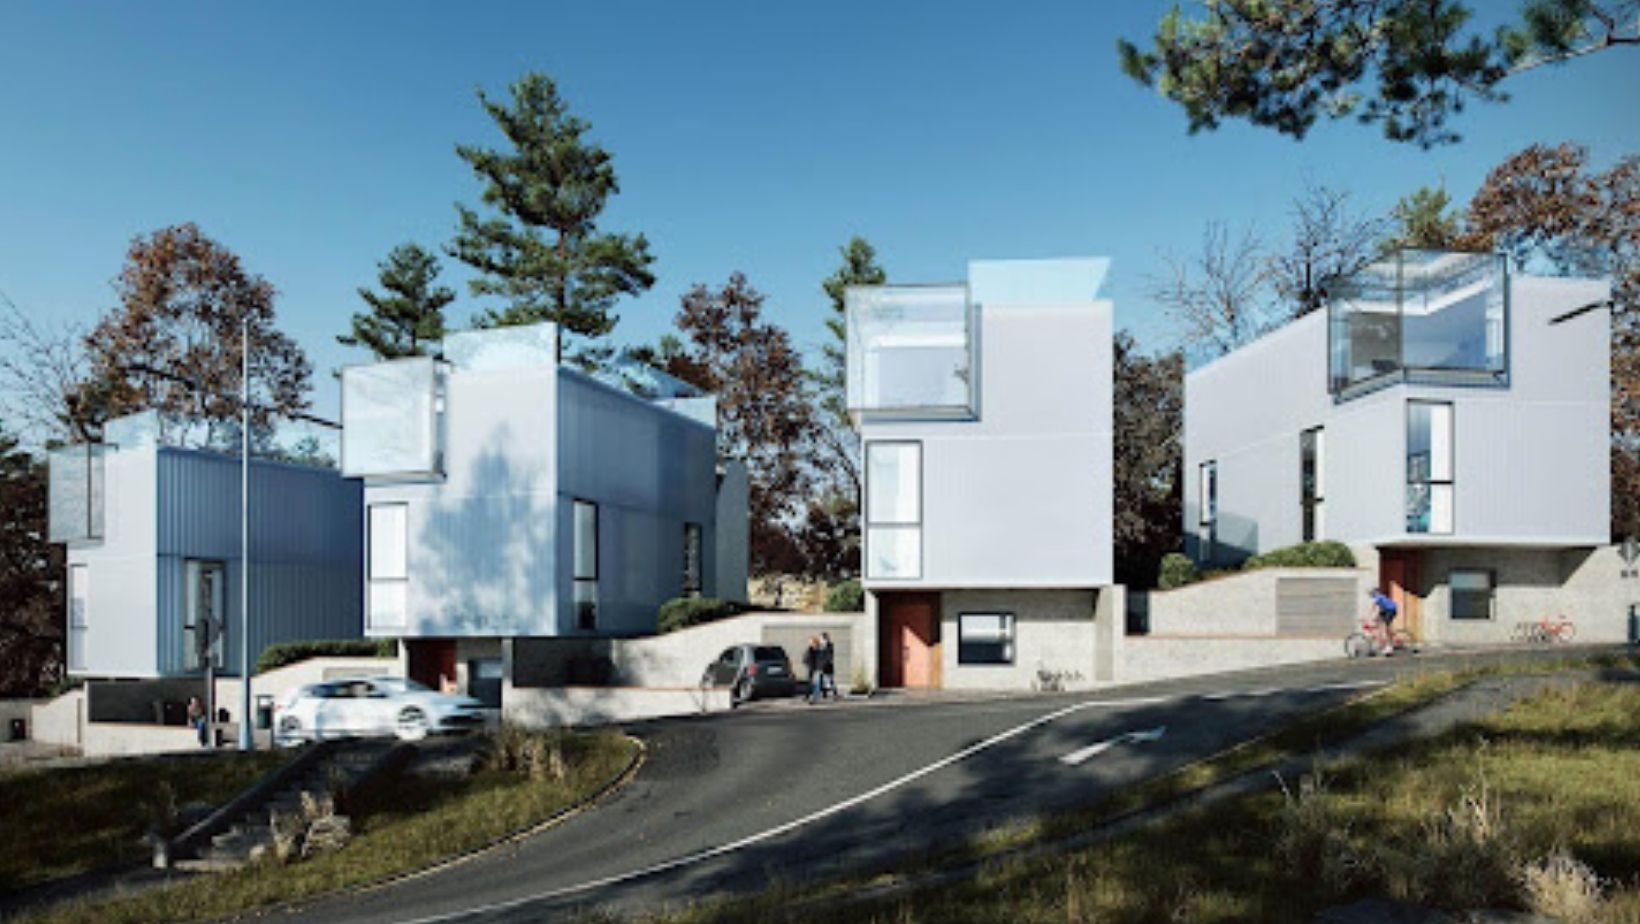
3D rendering of a cottage renovation — exterior update with new landscaping and design details
3D rendering of a renovation project showing what the finished exterior will look like. Image: archicgi.com
Renovations are expensive. Even a mid-sized kitchen update can run tens of thousands of dollars once you factor in cabinets, countertops, appliances, labor, and the inevitable surprises hiding behind old walls. The last thing you want to discover — after demolition has already begun — is that the layout you approved doesn’t actually work the way you imagined it.
This is where 3D visualization changes the game for homeowners. Not just for architects and developers, but for regular people planning real renovations on real budgets. When you can see a photorealistic image of your finished kitchen, your reconfigured living room, or your updated front exterior before a single tile is ordered, you make better decisions — and you spend money on the things you actually want.
Why Renovation Mistakes Happen Before Construction Even Starts
Floor plans and sketches only tell part of the story
If your contractor or designer has handed you a floor plan and asked you to approve it, you’ve probably spent some time staring at it trying to picture the finished room. For most homeowners, that’s a frustrating exercise. Floor plans are drawn for builders — they show dimensions and structural relationships, not how a space will actually feel to live in.
A room that looks open and well-proportioned on a plan might feel tight and chopped-up once the walls go up. A kitchen island that seems perfectly sized in the drawing might block the main traffic path through the room. Scale is genuinely hard to read without training, and most of us don’t have it.
Small misunderstandings become expensive changes
The other problem is communication. Homeowners, designers, and contractors all use the same words — “open plan,” “light-filled,” “cozy,” “modern” — but those words mean different things to different people. A contractor who builds exactly what’s on the drawing can still produce a result that surprises the homeowner, because what the homeowner approved and what they imagined were never quite the same thing.
When that gap shows up during construction, fixing it is costly. A wall that needs to move, a cabinet order that has to be changed, a window that turns out to be in the wrong place — each of these involves rework, delay, and money you hadn’t budgeted for.
Older homes come with extra complexity
If you’re renovating an older home, the margin for error shrinks further. Existing structure, irregular room shapes, older plumbing and electrical paths, and non-standard dimensions all make decisions harder. What looks like a straightforward layout change can turn into a series of expensive structural discoveries. In older homes especially, seeing the proposed result before committing to it isn’t a luxury — it’s practical protection against avoidable mistakes.
As the team at MiddleClassHomes has written about before, practical family home design is about making spaces that actually work for real daily life — and that requires being specific about what you’re approving before work begins.
What 3D Visualization Adds to Renovation Planning
Seeing the finished result before spending a cent on labor
Many homeowners now use 3D rendering for renovations to compare layouts, finishes, and design ideas before construction begins. The rendered image shows the finished room with the correct dimensions, the specified materials, and the planned lighting — not an approximation or a mood board, but a close visual representation of what the completed renovation will actually look like.
This changes the nature of the approval conversation entirely. Instead of trying to picture what your designer is describing, you look at an image of it. If something’s not right, you say so at the planning stage — when a change costs nothing — instead of at the installation stage, when it costs everything.
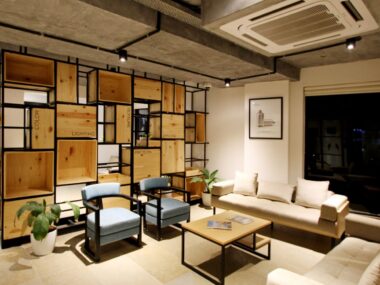
Comparing layout options before committing to one
One of the most practical uses of visualization is seeing two or three layout options placed side by side in rendered form. Should the kitchen island run lengthwise or across? Is an open-plan living-dining area actually what you want, or does a partial partition serve the family better? Does moving the bathroom door make the primary suite feel bigger, or just different?
These are questions that are genuinely difficult to answer from a floor plan. They’re much easier to answer from a rendered image taken from the same angle you’d stand in when you enter the room.
Testing finishes and materials before ordering them
Finishes are where a lot of renovation money gets wasted. You choose a floor tile from a small sample, order it, have it installed, and realize it reads completely differently at full scale under your home’s actual light. You pick a cabinet color that looks warm and neutral in the showroom but cool and harsh in your kitchen. These mismatches happen constantly — and they’re almost entirely preventable.
A rendered image can show you your chosen flooring in your actual room, under your actual lighting conditions, next to your chosen cabinets and countertops. You see how the combination works before any of it is ordered. The decision becomes something you’ve evaluated visually, not just hoped for.
Lighting choices play a huge role in how finishes read — something the team at MiddleClassHomes has covered well in their guide to lighting in interior design. Rendered images can simulate different lighting scenarios in the same space so you can see both.
If you’re renovating before selling, visualization is especially useful for deciding which updates will show well to buyers. A rendered image of the updated space can also be used directly in your listing — before the renovation is even complete.
The Renovation Decisions That Benefit Most from Visualization
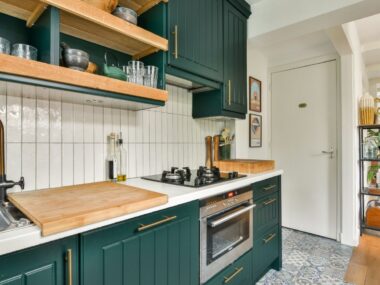
Kitchen and bathroom updates
Kitchens and bathrooms are the two rooms where visualization pays back the most. They’re the most expensive rooms to renovate, they involve the most finishes (tile, cabinetry, countertops, fixtures, lighting), and they’re the rooms where small spatial decisions — where the island sits, how the vanity is oriented, whether the shower is walk-in or wet-room — have the biggest impact on usability. Getting a photorealistic view of both before committing to either is worth the investment many times over.
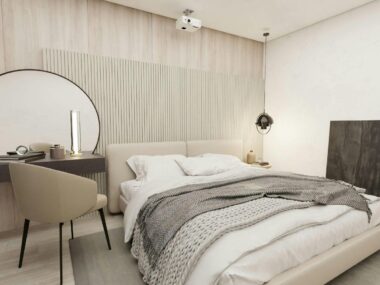
Layout changes in family homes
Family homes carry a particular design challenge: the layout has to work for the whole family, not just one person’s aesthetic vision. Where do the kids do homework? Where does the dog sleep? Can you see the backyard from the kitchen? Is there somewhere to drop things when you walk in the front door? These are real usability questions that a beautiful render can help you test before the walls move.
Exterior refreshes and curb appeal upgrades
Exterior changes are hard to visualize from a plan because the reference point is always the street — a perspective that no elevation drawing captures well. A rendered exterior view shows exactly how new cladding, updated windows, a repainted front door, or a redesigned front path will read from the sidewalk. For homeowners preparing to sell, this is particularly valuable: as MiddleClassHomes has shown, curb appeal improvements can add significant value — and knowing which ones to prioritize before spending money on them is exactly the kind of decision visualization helps with.
How Homeowners, Designers, and Contractors Use the Same Visual
Helping you explain what you actually want
One of the quiet frustrations of renovation planning is explaining what you mean to people who work in a professional visual language you don’t share. “I want it to feel light but not cold.” “I want it to be open but still have separation.” These are real and reasonable preferences, but they’re hard to communicate through words alone. A rendered image of an option that matches your intent gives both sides something concrete to react to — and that’s a much more productive conversation than trying to describe a feeling.
Helping your designer present options clearly
Most designers can describe their ideas fluently. But describing a finish combination, a lighting approach, or a layout reconfiguration is never as clear as showing it. A designer who can bring rendered options to a client meeting — rather than floor plans and material boards — gets more useful feedback, fewer misunderstandings, and faster approvals. Everyone benefits from that.
Helping your contractor understand the expected result
Rendered images don’t replace technical drawings — contractors build from drawings, not pictures. But they complement them. A contractor who has seen a rendered image of the expected finish knows what standard they’re building toward. Scope-creep, finish disputes, and “that’s not what I meant” conversations happen less often when the visual expectation has been set clearly before work begins.
A Practical Checklist Before Starting Your Renovation
What to prepare before ordering visuals
Gather these before briefing a designer or visualization team:
- Current room dimensions — measure everything, including ceiling height
- Photos of the existing space — multiple angles, good lighting
- Inspiration images — from Pinterest, magazines, or saved photos that show the feel you want
- Style references — examples of finishes, colors, or layouts you like
- A rough floor plan sketch — even a hand drawing is useful
- Your must-haves and deal-breakers — what the space absolutely needs to do for your family
- Your budget range — so options can be calibrated to what’s realistic
When to create renovation visuals
Visualization pays off most at these moments:
- Before making any major layout decision— moving walls, removing partitions, reconfiguring kitchens
- Before ordering finishes— tile, flooring, cabinetry, countertops
- Before getting final contractor quotes, so everyone is pricing the same result
- Before any exterior changes— cladding, windows, front entrance, landscaping
- Before starting resale-preparation updates, to decide which improvements are worth the money
How to use visuals well
Get the most from your rendered images by:
- Asking to see two or three options side by side, not just the preferred direction
- Sharing the images with everyone involved in the decision— partner, family members, co-owners
- Using them as a written reference for your contractor (“build to match this image”)
- Requesting a revision round before finalizing — it’s much cheaper to tweak a render than to change an installation
Mini Example: Choosing Between Two Renovation Directions
Say you’re updating a 1980s split-level home. The kitchen is dated but functional. You have two options in front of you, and you’re not sure which is worth the money.
Option comparison — visualized before any work begins
Option A — Cosmetic update only
- New cabinet paint and hardware
- Updated lighting fixtures
- New countertop surface only
- Fresh paint throughout
- Estimated cost: lower
- Timeline: 2–3 weeks
- No structural changes
Option B — Cosmetic + layout adjustment
- Everything in Option A
- Remove half-wall to dining area
- Relocate island for better flow
- Add under-cabinet lighting run
- Estimated cost: higher
- Timeline: 6–8 weeks
- Structural assessment required
What becomes clear once both are rendered: Option A makes the kitchen look considerably fresher but doesn’t change how it feels to cook in. Option B opens the room to the dining area in a way that reads much better in daily use — and in listing photos if you eventually sell. Without seeing both rendered, most homeowners wouldn’t know which one was actually worth the extra investment.
Frequently Asked Questions
Is 3D visualization only useful for large renovations?
Not at all. Even a single-room update — a bathroom remodel, a kitchen refresh, a bedroom reconfiguration — benefits from seeing the result before spending money on it. The smaller your budget, the more valuable it is to get the decisions right the first time, which is exactly what visualization helps with.
Can it help with small layout changes?
Yes, and this is often where it delivers the most surprising value. Moving a doorway, relocating a kitchen island, adding a partial wall, or flipping the orientation of a bathroom vanity — these are small structural decisions that have a big impact on how a space feels and functions. Seeing the change rendered before committing to it helps you confirm it’s actually worth the disruption and cost.
Does visualization replace technical drawings?
No — and it doesn’t try to. Your contractor builds from technical drawings, not from rendered images. But the two work well together: the drawings tell the contractor how to build it, and the render tells everyone what the finished result should look and feel like. Both serve different purposes, and using them together reduces the risk of miscommunication at every stage.
When in the renovation process should homeowners create visuals?
As early as possible — ideally before you’ve committed to a contractor or ordered any materials. The earlier you create visuals, the more freedom you have to refine the design without cost. That said, visualization is useful at any stage where an important decision still needs to be made. If you’re choosing between two finish options after demolition has already started, a quick render is still worth doing before placing the order.
Can visuals help with resale-focused upgrades?
Absolutely. If you’re renovating before listing, visualization helps you prioritize the updates that will show well in photos and in person — without spending money on changes that buyers won’t notice or value. A rendered exterior can also function as marketing material for the listing itself, giving buyers a clear picture of what the home will look like if you’re selling mid-renovation.