 Qyndarix Thalendros
Building a garden shed is a practical way to create additional storage for tools, lawn equipment, bicycles, and outdoor furniture. It can also be an enjoyable construction project for homeowners with experience in carpentry and DIY work. Before construction begins, plan the site, materials, tools, and appropriate safety wear for the different tasks involved so the project can progress in an organized way from the foundation to the finished roof.
Decide How You Will Use the Shed
The purpose of the shed should determine its size and design.
A small structure may be sufficient for basic gardening equipment, while a larger shed could accommodate:
Think about future storage requirements as well. Building slightly more space than you currently need can prevent the shed from becoming overcrowded.
Choose the Right Location
Walk around the property and consider where the shed will be most practical.
Look for a location that provides convenient access without taking over an important part of the garden.
Consider:
Avoid areas where water regularly collects after heavy rain.
Check Local Requirements
Depending on the size and location of the structure, permits or other approvals may be required.
There may also be rules governing:
Check applicable requirements before purchasing materials or beginning excavation.
Prepare a Stable Foundation
A good shed begins with a solid base.
Poor foundations can eventually lead to uneven floors, sticking doors, structural movement, and moisture problems.
The appropriate foundation will depend on the size of the shed, soil conditions, and intended use.
Whatever approach you choose, spend time getting the base level before moving on to the structure.
Build the Floor Frame
Once the foundation is ready, construction can move to the floor.
Measure carefully and regularly check that the frame remains square.
A small error at floor level can become much more noticeable when walls and roofing are added.
If the shed will hold particularly heavy equipment, make sure the floor structure is suitable for the expected load.
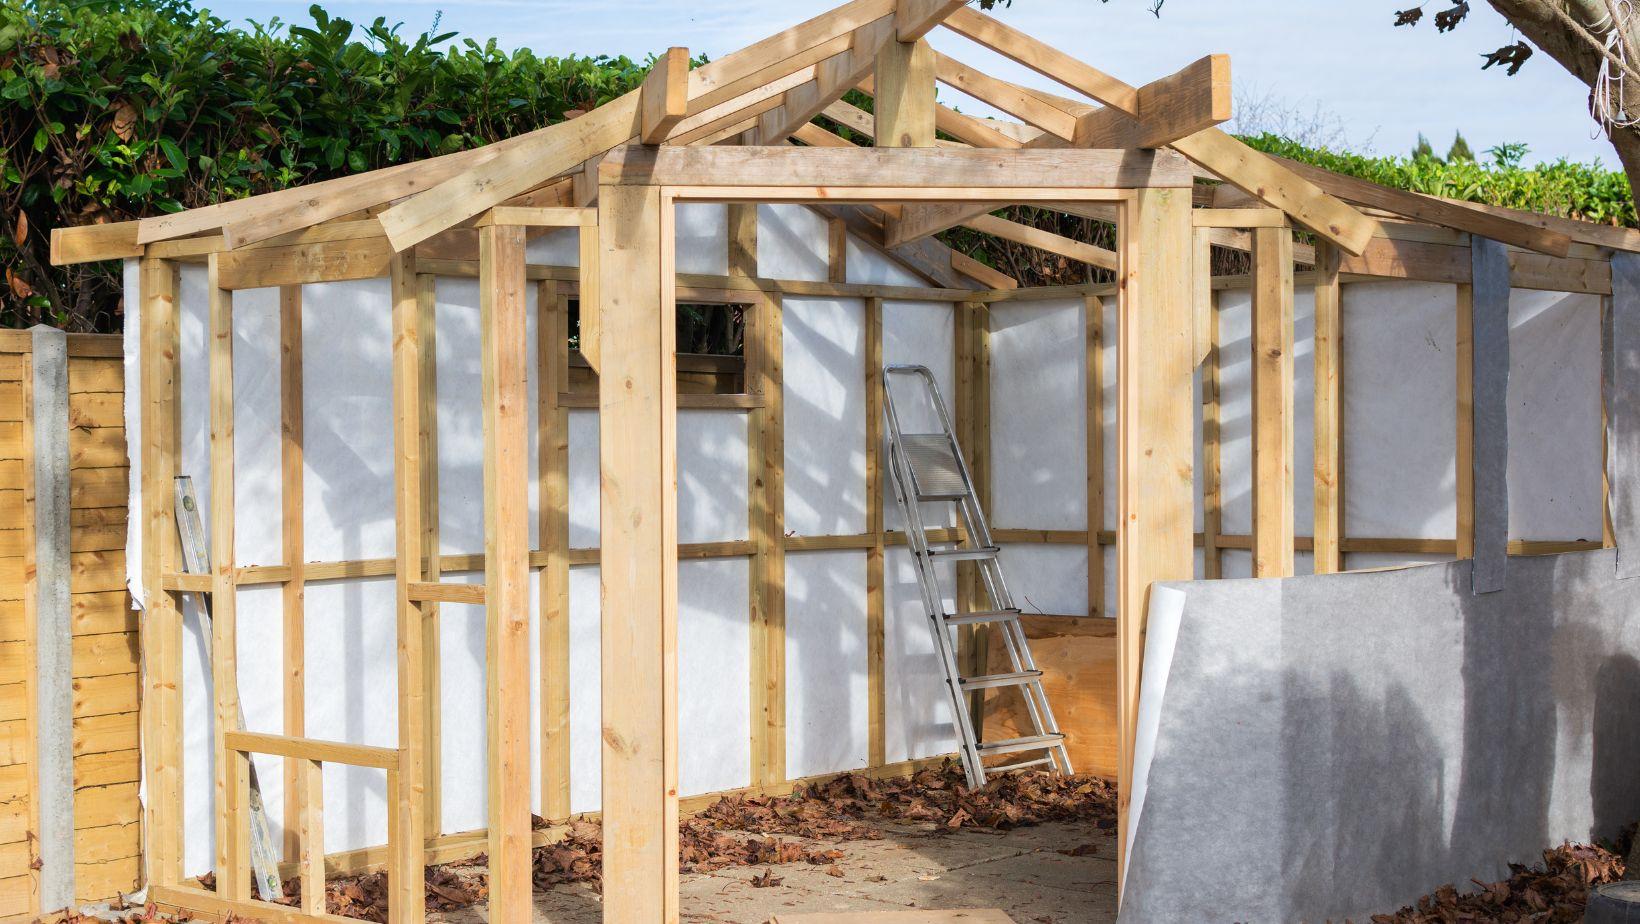
Construct the Wall Frames
Wall framing is where the shed begins to take shape.
Plan openings for doors and windows before assembling the walls.
Depending on the design, it may be easier to build each wall section on a flat surface before raising it into position.
Check that each section is properly aligned before permanently securing it.
Plan the Roof Carefully
The roof plays an important role in protecting the structure and everything stored inside.
Choose a roof design appropriate for the shed and local weather conditions.
Common designs include:
Pay attention to water runoff. Rainwater should be directed away from the structure rather than allowed to collect around the foundation.
Think About Ventilation
Sheds can become hot and humid, particularly during warmer months.
Ventilation can help reduce trapped moisture and make the building more comfortable if you plan to spend time working inside.
This becomes particularly useful when storing tools and materials that may be affected by prolonged damp conditions.
Create Practical Storage
Avoid simply filling the completed shed from the floor upward.
Use the available vertical space.
Consider installing:
Keep frequently used gardening tools close to the entrance while seasonal items can be stored farther back.
Add a Small Work Area
If space allows, consider adding a workbench.
Even a compact surface can be useful for:
Good lighting can make this area considerably more useful.
Protect the Exterior
The final stage is protecting the shed from weather exposure.
Depending on the materials used, this might involve exterior paint, stain, or another appropriate protective finish.
Inspect the exterior periodically for signs of:
Small maintenance jobs are generally easier to manage before they develop into larger repairs.
Final Thoughts
Building a garden shed is a manageable construction project when each stage is properly planned. Start with the right location and a stable foundation, then focus on accurate framing, weather protection, ventilation, and practical storage.
The result can be much more than somewhere to hide garden tools. With thoughtful planning, a well-built shed can become a useful workspace and an organized extension of the home.