Gold door handles bring an air of elegance and refinement to any space. However, they can lose their brilliance over time due to grime, fingerprints, or tarnish. To keep them looking their best, it’s important to clean them properly.
This comprehensive and easy guide will help you clean your gold door handles safely and effectively while preserving their luxurious appearance.
Why Cleaning Gold Door Handles is Essential
Gold door handles are more than just functional hardware; they are a statement piece in your home or office. Over time, exposure to dirt, oils from hands, and environmental elements can dull their shine and cause tarnish. Regular and proper cleaning not only keeps them looking pristine but also ensures their durability and prevents damage. By adopting a consistent cleaning routine, you can maintain the value and aesthetic appeal of your gold handles.
What You’ll Need
Before you begin cleaning, gather the following tools and materials to make the process efficient:
- Soft microfiber cloths: Gentle on delicate surfaces and perfect for polishing.
- Mild dish soap: A non-abrasive cleaner that is safe for gold finishes.
- Warm water: Helps dissolve dirt and grease.
- Cotton swabs: Ideal for cleaning tight corners and intricate designs.
- A soft-bristled brush (optional): Useful for removing stubborn dirt from crevices.
- Non-abrasive gold cleaner (optional): For restoring shine on tarnished handles.
- Small bowl or container: To properly mix your cleaning solution.
- Protective coating, such as clear lacquer (optional): Helps maintain the handle’s finish and prevent future tarnishing.
Step 1: Clear Away Dust and Debris
Begin by eliminating and getting rid of any surface dust or dirt to prevent scratches during the cleaning process:

- Wipe the Surface:
- Use a dried piece of cloth to gently remove loose dirt and dust from the handle. Pay attention to the entire surface, including the edges and underside.
- Reach Tight Spots:
- Use a cotton swab or a soft-bristled brush to clean intricate details and crevices. This step is particularly important for ornate handles with engraved or decorative patterns.
Step 2: Prepare a Gentle Cleaning Solution
A mild cleaning solution is essential to avoid damaging the gold finish. Here’s how to make it:
- Mixing the Solution:
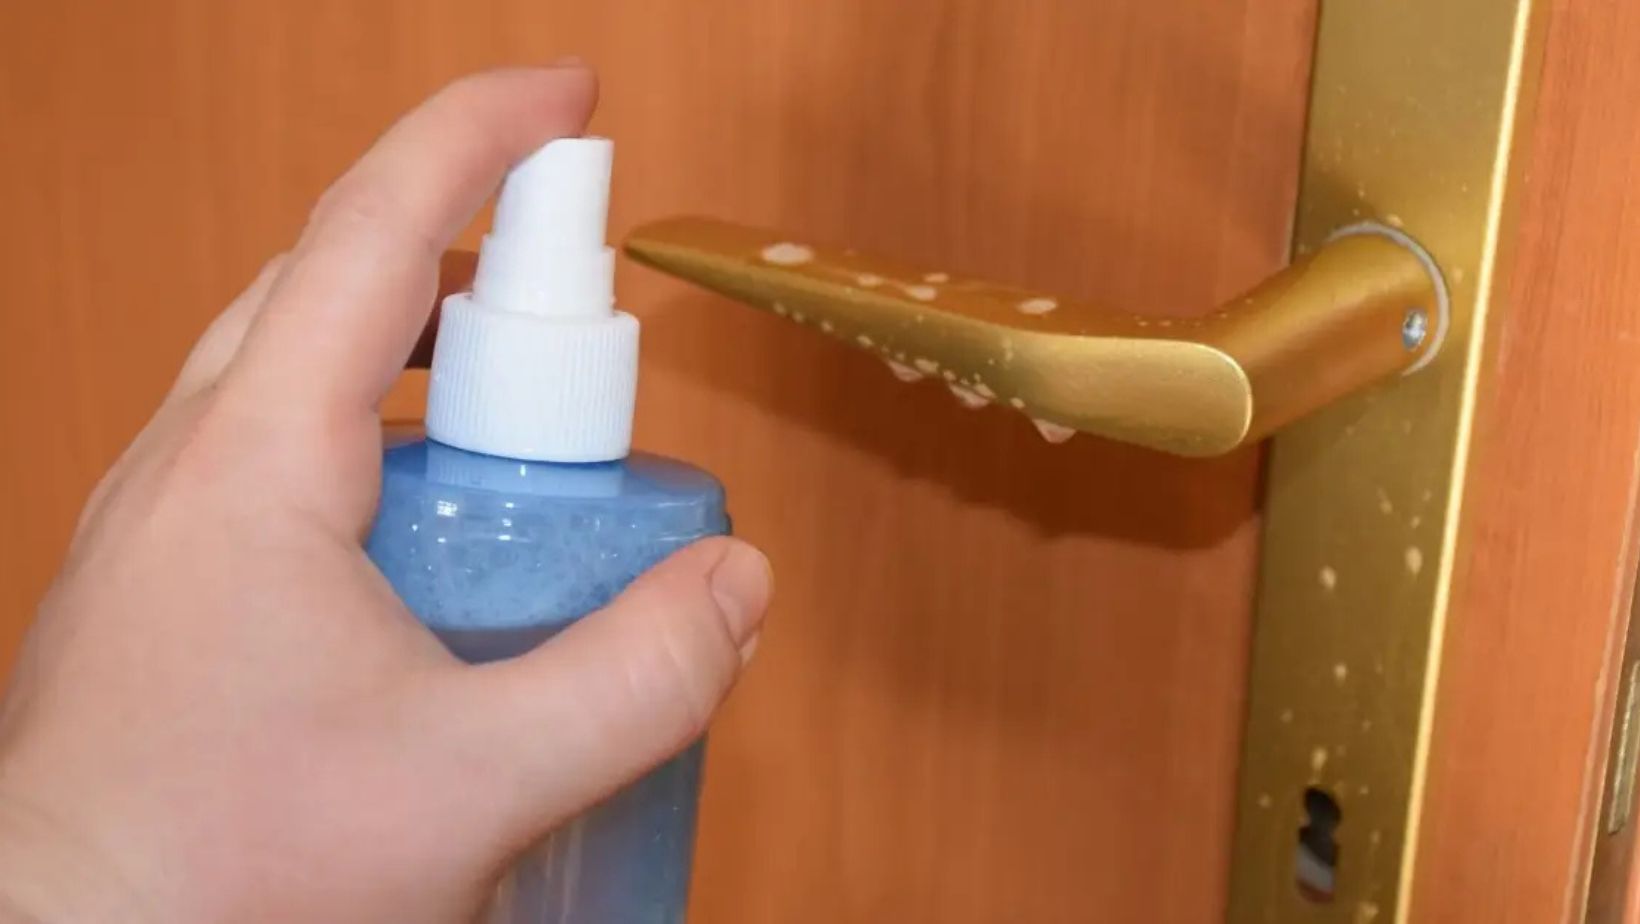
- Fill a small glass with warm water (please don’t use hot water) and then add a few drops of mild dish soap. Stir the mixture gently until it’s well blended.
- Test First:
- Dip a small area of the handle in the solution to ensure it doesn’t react negatively with the finish. This is especially important for antique or plated gold handles.
Step 3: Clean the Handle
Now that your cleaning solution is ready, it’s time to tackle the dirt and grime:
- Dampen a Cloth:
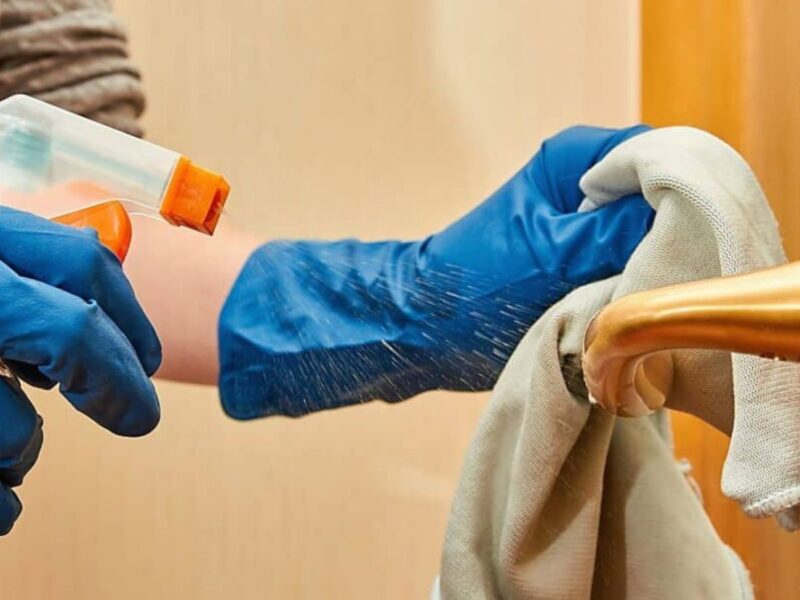
- Slightly dip a microfiber or soft cloth into the soapy water. Wring it out thoroughly to ensure it’s only slightly damp.
- Wipe Gently:
- Wipe the gold surface with the damp cloth, following the handle’s contours. Avoid scrubbing it too harsh, as this can damage the finish.
- Detail Work:
- For grooves or intricate designs, use a cotton swab or soft-bristled brush dipped in the solution. Work gently to remove dirt from hard-to-reach areas.
- Rinse Residue:
- Rinse the cloth now in clean water and wipe the handle again to remove any soapy residue. This ensures a streak-free finish.
Step 4: Dry and Shine
Proper drying is very critical to prevent water spots and preserve the handle’s shine:
- Pat Dry:
- It is recommended to use a clean, dry microfiber cloth to thoroughly dry the handle. Ensure no moisture remains, especially in crevices.
- Buff the Surface:
- Lightly buff the handle with the dry cloth in circular motions. This step enhances the gold’s natural luster and removes any lingering streaks.
Step 5: Polish for Added Luster (Optional)
If your handle has lost its sparkle, a gold-safe polish can restore its brilliance:
- Apply a Small Amount:
- Follow the product’s instructions to apply a small amount of polish to a soft cloth. Gently rub it onto the handle in circular motions.
- Buff Again:
- Use a separate cloth to buff the handle until it shines. Be sure to remove all traces of polish for a flawless finish.
Step 6: Protect the Finish (Optional)
To maintain the handle’s beauty and protect it from future tarnish:

- Apply a Protective Coating:
- Use a clear lacquer or metal protectant designed for gold finishes. Apply a thin, even coat and let it to dry completely.
- Minimize Touch:
- Encourage family members and guests to handle the door with clean hands to reduce buildup of oils and dirt.
Maintenance Tips
Keeping your gold door handles clean doesn’t have to be a chore. Incorporate these simple practices into your routine:
- Regular Wiping: Clean the handles weekly with a damp cloth to prevent dirt from accumulating.
- Avoid Harsh Cleaners: Steer clear of abrasive chemicals, steel wool, or scouring pads that can unintentionally damage the finish.
- Quick Spot Cleaning: Address spills or smudges as soon as they occur to avoid staining.
- Periodic Polishing: Every few months, use a gold polish to maintain the handle’s shine and luster.
When to Seek Professional Help
If your gold door handle has severe tarnish, deep scratches, or is heavily worn, it’s time to call in a professional. Restoration experts have the right tools and expertise to bring your handle back to life without causing further damage. This is especially important for antique or high-value handles that require special care.
Cleaning gold door handles doesn’t have to be complicated. With the right tools, a good cleaning solution, and a bit of care, you can keep them looking stunning for years to come. Regular maintenance and occasional polishing will ensure your gold handles remain a focal point in your home, exuding elegance and charm. Take the time to clean and protect them, and they’ll continue to make a lasting impression on anyone who walks through your doors.


