 Qyndarix Thalendros
How to Make Wall Shelves: A Step-by-Step Guide
Wall-mounted shelves are a modern way to beautify your space in a simple and affordable manner. It can change the ambience of your space in an instant and give it a sleek look. You can use these in your living room, kitchen, bedroom and even your bathroom.
Along with their amazing appearance, they also serve the purpose of making your room highly organised. For your living room, you can choose floating shelves, storage shelves for your kitchen, and corner shelves for small spaces.
Fitting most kinds of shelving is a relatively simple project that almost everyone can conquer with some easy tools and planning. This guide walks you through the entire process in simple steps.
What Do You Need Before You Start Installing Wall Shelves?
Even though wall mounted shelves are easy to install, it is essential to know the kind of tools you will be needing and the appropriate materials for successfully completing this task. Have a look at these requirements.
Tools Required
In order to successfully install wall shelves, you will need some crucial tools to make the process quicker and smoother. Lets discuss these tools.
- Stud finder:
- Power drill
- Drill bits
- Level
- Measuring tape
- Pencil
- Screwdriver
- Wall anchors
- Sandpaper (if using unfinished wood)
Materials Needed
Materials are as important as tools when it comes to installing anything. Make sure you have all these so you can get started with the process as soon as possible. Have a quick look at these for a better understanding.
- Shelf board
- Shelf brackets or hidden shelf hardware
- Screws
- Wall plugs or toggle bolts
- Paint or wood stain (optional)
Step-by-Step Guide to Installing Wall Shelves
Having the right type of guidance is absolutely necessary to carry out all the steps of the installation process correctly. So, have a look at all the wall shelf installation steps.
Step 1: Choose the Shelf Style and Location
So before we get into it, you need to choose the type of shelf that fits based on one location where you are getting placed and others locally. Some of these options include:
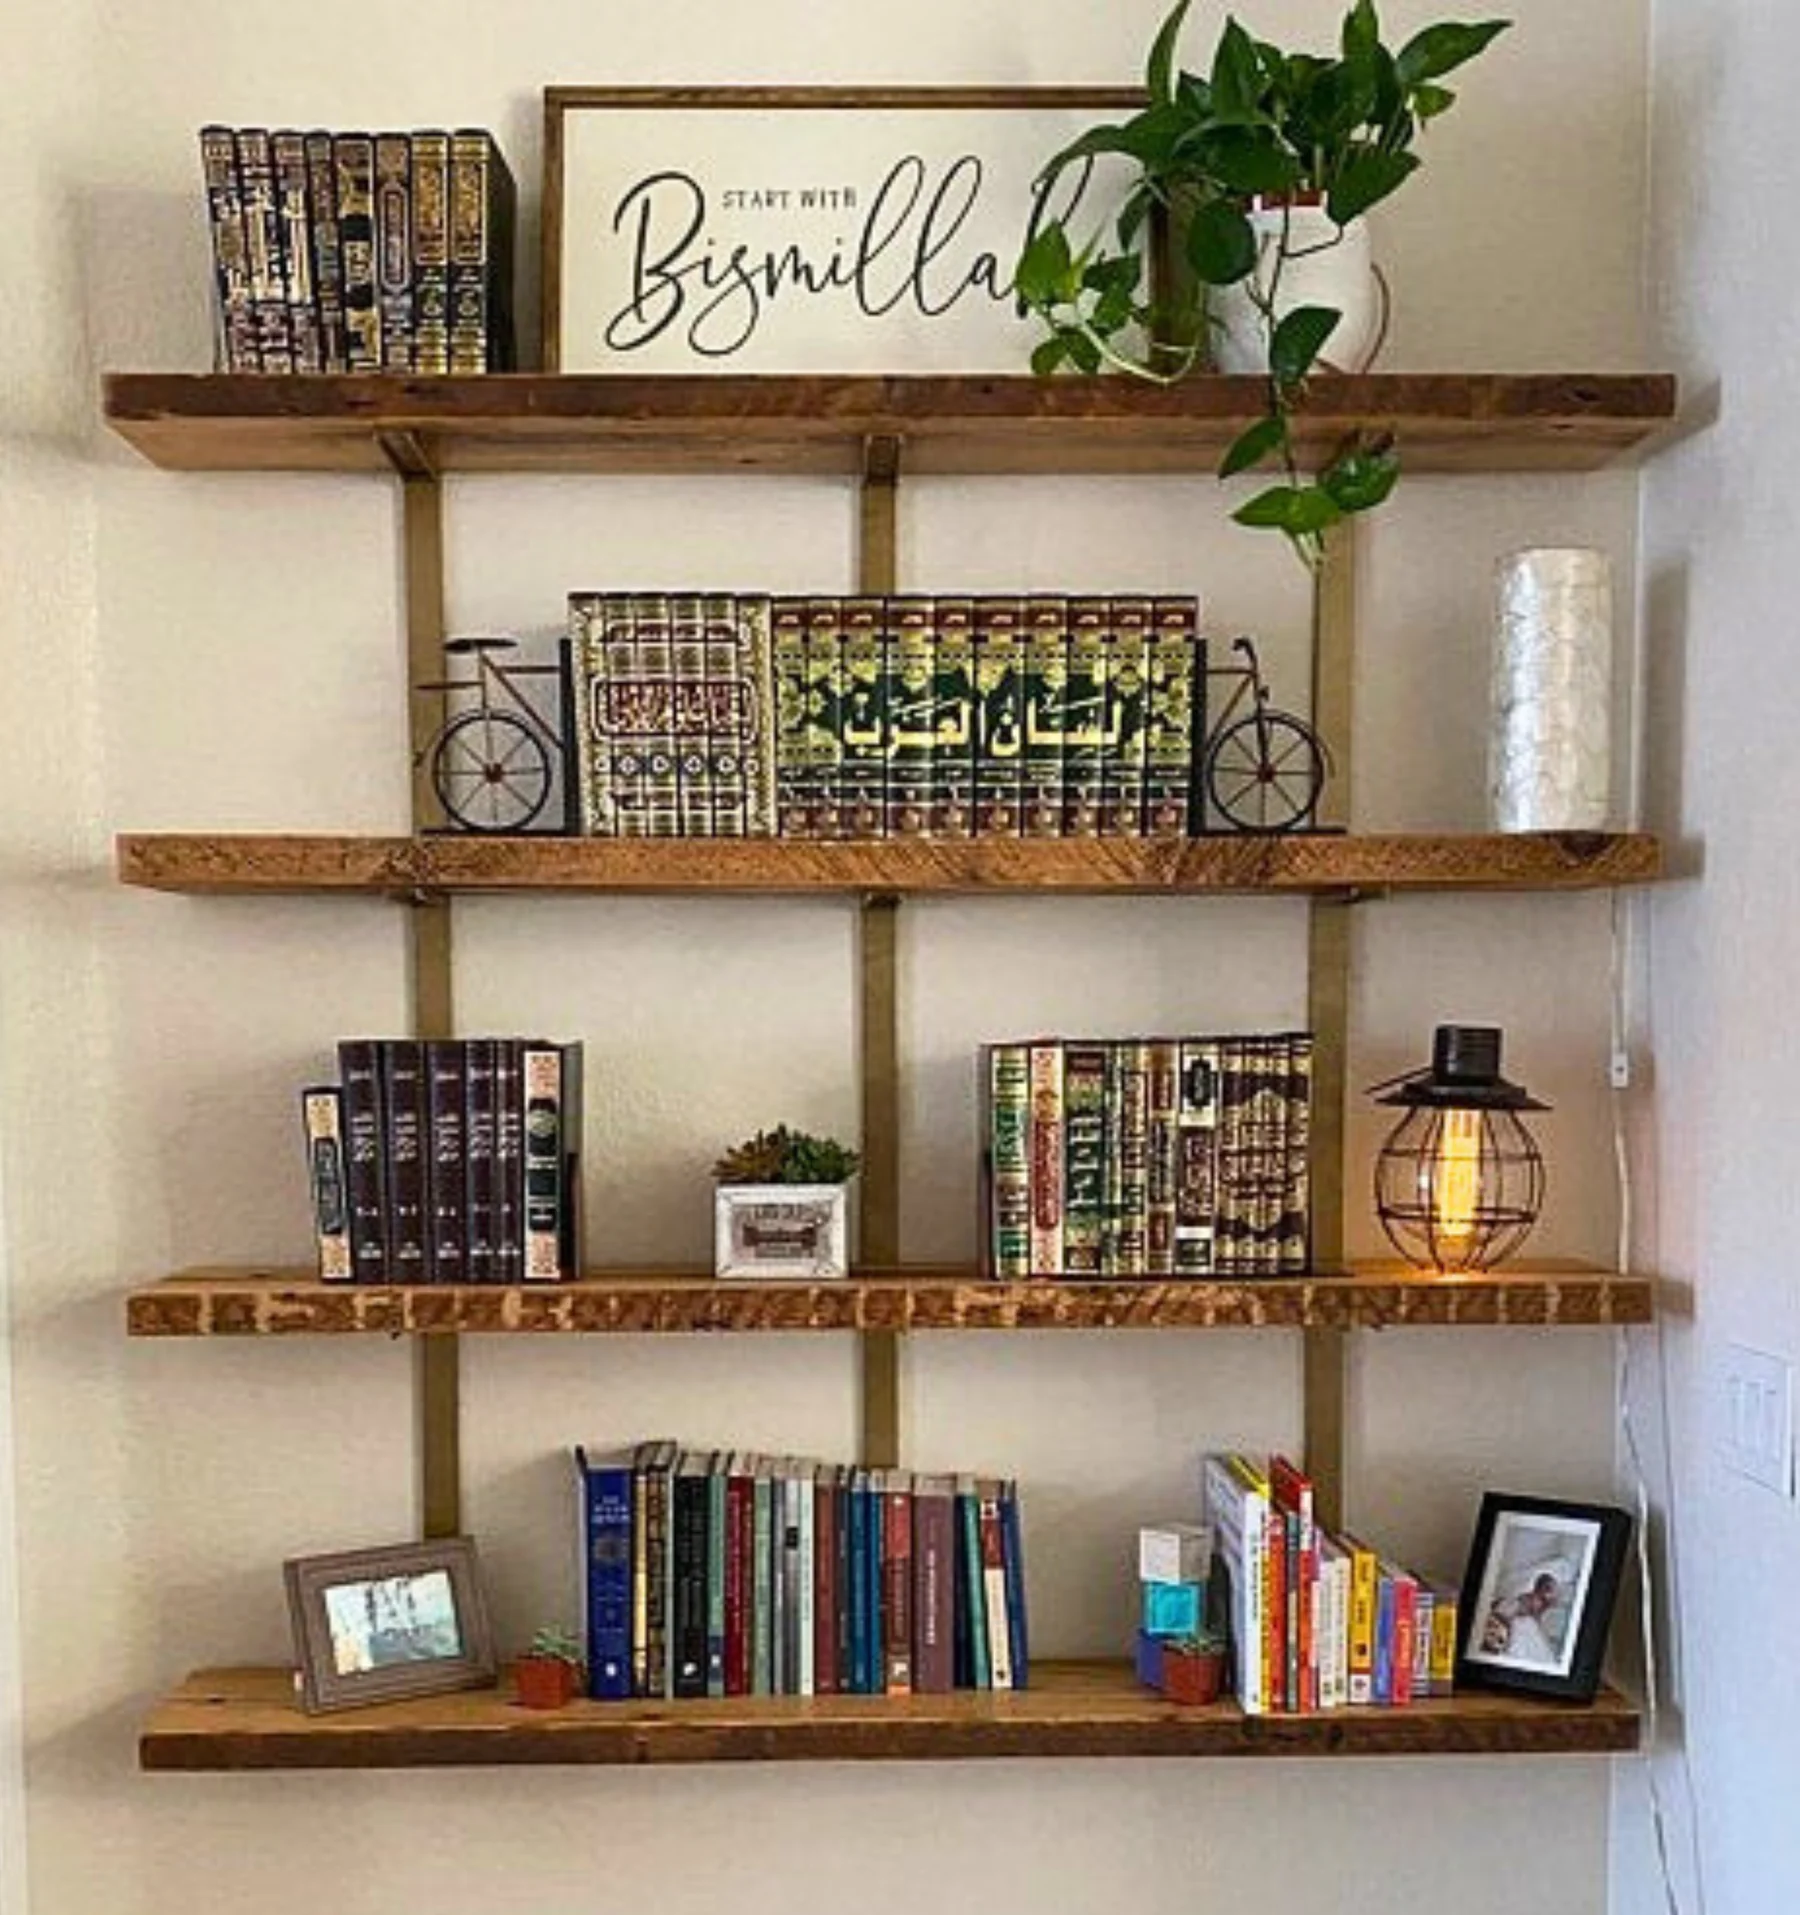
- Floating shelves
- Bracket-mounted shelves
- Corner shelves
Choose a spot where you can maximise the use of your shelves with good utilisation and balance in the whole room. Make sure to mark exactly where you want them or the height wise from which place. They appear best positioned around eye level.
Step 2: Find the Wall Studs
Use a stud finder to locate the studs in your wall. Make sure you are training on shelves that can hold anything stronger than the average shelf is backed by a stud. With a pencil, make the stud very light scratch marks. If studs are not in places where you need your shelf to be, use strong, heavy-duty wall anchors or toggle bolts for drywall (use the strongest available).
Step 3: Mark the Bracket Positions
For the next phase, you will need to push the bracket against your wall and then use a level as well. With a pencil, mark down on where the screw holes are. Exercise caution with this step because any inaccurate and uneven markings will affect the shelf’s appearance.
Step 4: Drill Pilot Holes
Now it is time to drill out the conditionally large guide hole where you made your marks. Making pilot holes makes it easier for the screws to go in properly and minimizes any damage occurring to the wall. For those who are using wall anchors, drill holes according to the instructions that accompany these devices.
Step 5: Install the Brackets
At this step, you will have to place the brackets on top of the holes and fasten them with some screws. If too tight, they risk slipping and/or damaging the dry wall. If you are mounting floating shelves, carefully follow the directions to attach the brackets not visible next to your wall.
Step 6: Prepare the Shelf Board
Now it is time to prepare the shelf board. If you are working with unfinished wood:
- Sand the surface to make it smooth
- Use paint, stain, or wood finish
- Now let it dry fully
Pre-finished shelves are generally ready to go.
Step 7: Attach the Shelf
Place the shelf onto the brackets or slide it onto the hidden rods for floating shelves. Then secure it using the included screws if necessary. Use the level again to ensure everything is accurate.
Tips for Different Wall Types
Different walls require different installation techniques to ensure your fixtures are secure. Follow these simple guidelines for each wall type to avoid damage and get the best results.
Drywall
Use heavy-duty wall anchors if studs aren’t available. Locate studs for heavier items and avoid over-tightening to prevent damage.
Plaster Walls
Drill slowly to prevent cracks as plaster can chip or crack easily. Use a masonry bit for older plaster with lath and consider toggle bolts for heavier items.
Brick or Concrete Walls
Regular drills struggle with masonry so use a hammer drill. Install masonry anchors or sleeve anchors and place them precisely.
Tile Walls
Use a tile drill bit as standard bits can crack tiles. Apply gentle, consistent pressure and cool the bit if needed.
Final Thoughts
Installing wall shelves is a practical DIY project that can improve both storage and room design. With the right tools, careful measurements, and proper hardware, you can create strong and stylish shelves that last for years.
Take your time during installation, always use a level, and choose the correct mounting method for your wall type.
DIY wall shelves are also a real practical project as you can make both storage and home decor. Pair this with the right tools, measure cautiously and egalitarian hardware (in addition to), giant, pretty cabinets last for years.
Install with patience, level everything and pick the right installation method for your wall.
Frequently Asked Questions
How much weight can wall shelves hold?
Shelves that are directly installed into studs, typically will hold a higher weight capacity than shelves supported by only drywall anchors. And make sure you’re using brackets and hardware that are up to the weight rating, too.
Can I install shelves without studs?
Yes but with mounting anchors or toggle bolts for proper support. Otherwise, they may not hold the weight.
What type of wood is best for shelves?
Solid wood is both durable and attractive. MDF and plywood are other common and extremely inexpensive choices for shelves.
Are floating shelves strong?
Yes. Floating shelves are usually strong when installed correctly using high-quality mounting hardware.
What is the best shelf style for small rooms?
Corner shelves and floating shelves are great for saving space in smaller rooms.