Plastering a ceiling might seem like a daunting task, but with this guide it can be a breeze. In this article we will cover everything from what tools you need to how to mix the plaster. So whether you are a seasoned pro or a complete beginner, read on for all the information you need to know about plastering ceilings.
What materials do you need to plaster a ceiling yourself
Plastering a ceiling is a fairly straightforward process, but it does require some specialized equipment. In addition to a hawk and trowel, you’ll need a portable mixer to whip the plaster into the proper consistency. You’ll also need a few buckets to hold the plaster while you’re working. Once you have all of your supplies, the first step is to apply a scratch coat of plaster to the ceiling.
This will help the final layer to adhere better. After the scratch coat has dried, apply the final layer of plaster in smooth, even strokes. Once the plaster has had a chance to set, you can sand it down for a smooth finish. With a little patience and some practice, you can achieve professional-looking results by plastered your ceiling yourself.
How to plaster a ceiling
Plastering a ceiling is a relatively easy task that anyone can do with a little practice. The key to success is to start with a smooth, level surface. To prepare the surface, begin by sanding down any rough spots and then wiping away any dust. Once the surface is prepared, you can mix the plaster according to the instructions and then apply it to the ceiling in thin, even layers. Be sure to work quickly and evenly to avoid creating any lumps or bumps. Once the plaster has dried, you can sand it down again to create a smooth, flawless finish. With a little patience and practice, you’ll be able to achieve professional-looking results.
Mixing the plaster and applying it to the ceiling
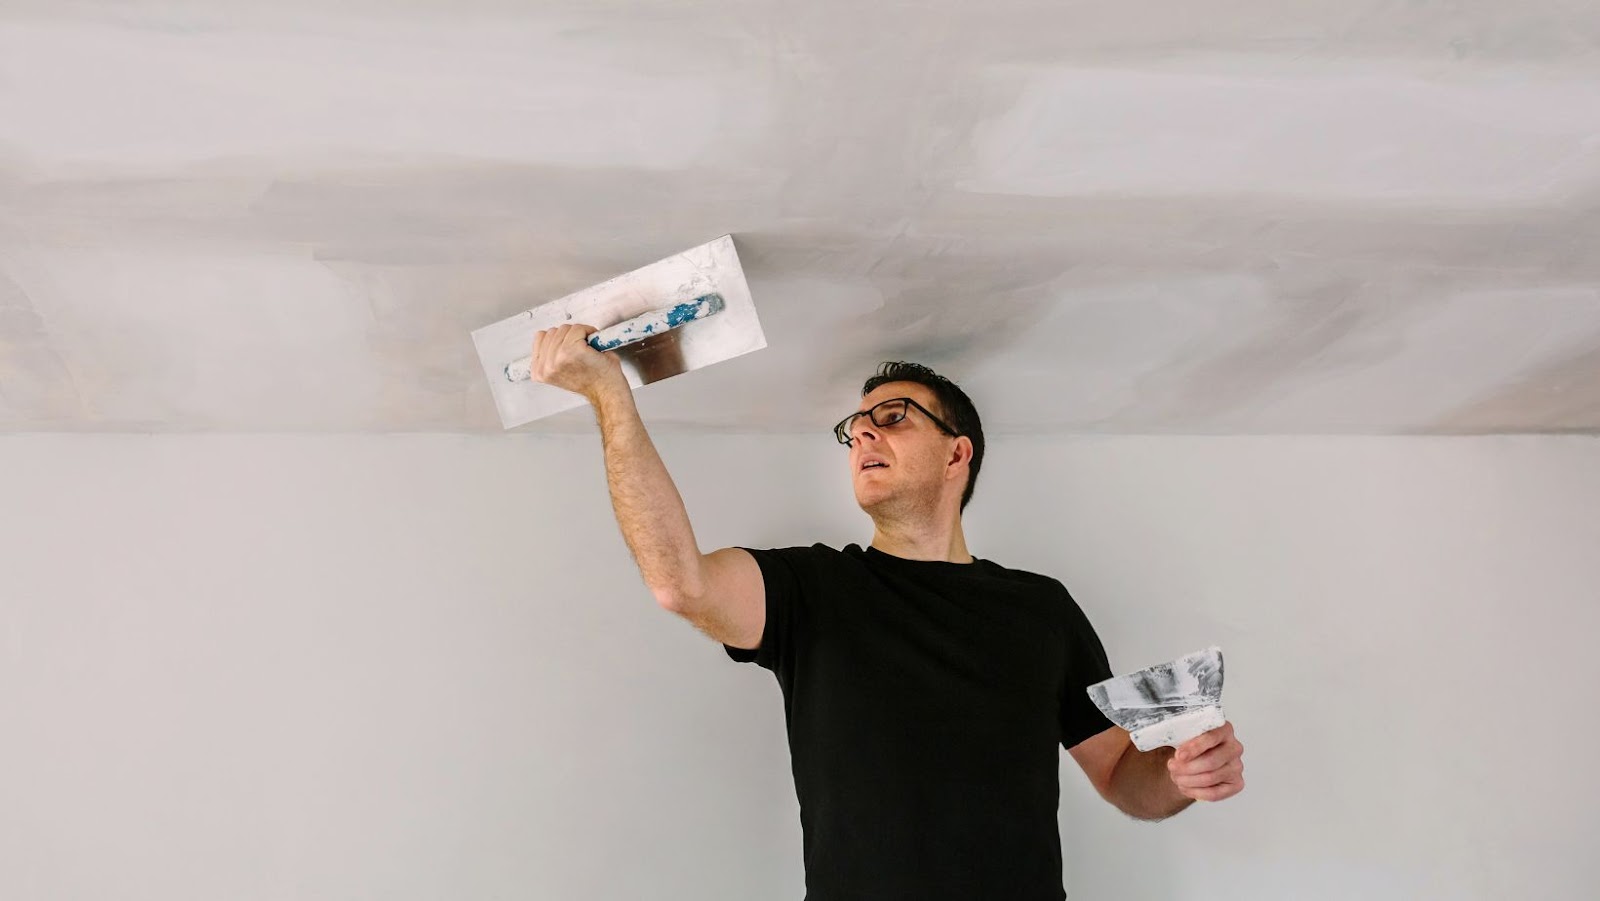
The process of plastering a ceiling begins with mixing the plaster to the correct consistency. Then, the plaster is applied to the ceiling in thin layers, using a trowel to smooth it out. Once the plaster has dried, it is sanded down to create a smooth surface. Finally, a coat of paint is applied to protect the plaster and give the ceiling a finished look. Plastering a ceiling is not a difficult task, but it does require some time and patience. With a little practice, anyone can achieve professional-looking results.
Finishing the plastering job
After you’ve mixed the plaster, it’s time to put it on the wall. It’s important to work quickly because plaster sets fast. Start at the top of the wall and work down. Use a trowel to spread plaster evenly over the surface. Once you’ve applied a layer of plaster, use a float to smooth it out. Be sure to hold the float at a low angle so that you don’t create too much friction, which can cause air bubbles.
Work in small sections so that the plaster doesn’t have a chance to set before you’ve had a chance to smooth it out. When you’re finished, allow the plaster to dry completely before painting or priming it.
Tips for creating a smooth, even finish on your ceiling
When plastering a ceiling, it’s important to work quickly and evenly to avoid creating any lumps or bumps. Be sure to hold the float at a low angle so that you don’t create too much friction, which can cause air bubbles. Work in small sections so that the plaster doesn’t have a chance to set before you’ve had a chance to smooth it out. When you’re finished, allow the plaster to dry completely before painting or priming it. With a little patience and practice, you can achieve professional-looking results.