Home renovations are expensive. For middle-class families, a single mistake can blow the budget and create months of stress. You pick a paint color that looks perfect in the sample. It goes on the walls. Suddenly it’s too dark, too cold, or just wrong. Now you’re repainting at double the cost.
Or you order custom cabinets based on floor plans. They arrive. They fit, technically. But they make your kitchen feel cramped and awkward. There’s no easy fix without major expense.
These scenarios happen constantly in home renovations. The problem? Traditional planning tools ask you to imagine the finished result based on fragments—paint chips, material samples, floor plans. Your brain fills in the gaps. Sometimes it fills them in wrong.
3D visualization changes this completely. Instead of imagining your renovated space, you see it. Before ordering materials. Before hiring contractors. Before spending money you can’t get back.
Why Traditional Planning Falls Short
Most homeowners plan renovations using a combination of:
● Inspiration photos from Pinterest or magazines
● Paint chips and material samples
● Hand-drawn sketches or basic floor plans
● A lot of hope
This approach works for simple projects. Paint a room one color. Replace existing fixtures. Small changes with low risk.
But major renovations involve dozens of interconnected decisions. Cabinet color affects countertop selection. Countertop choice influences backsplash options. Backsplash impacts paint color. Lighting changes how everything looks.
Traditional planning tools show these elements in isolation. You never see how they work together until installation day. By then, changes are expensive or impossible.
What 3D Rendering Actually Shows You
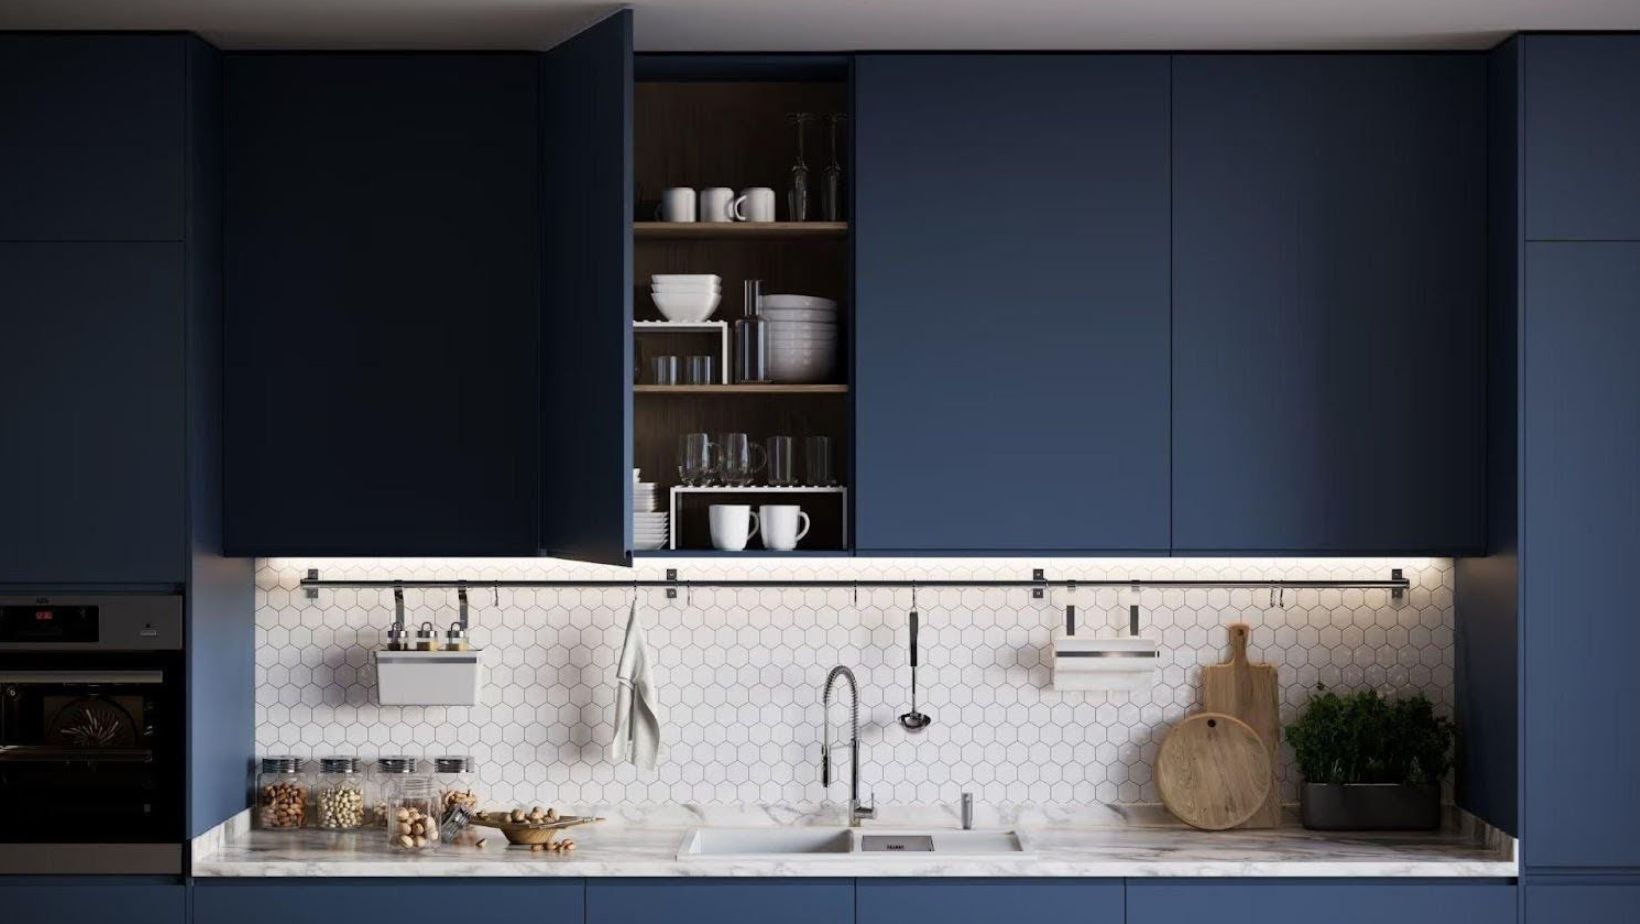
Professional 3D rendering services create photorealistic images of your planned renovation. Not sketches. Not approximations. Detailed visualizations that show exactly how your finished space will look.
This includes:
● Actual paint colors on your specific walls
● Real materials and finishes in context
● Furniture placement and scale
● Natural light at different times of day
● Artificial lighting effects
● How everything relates visually
You see your kitchen with those cabinets, that countertop, those fixtures, that paint color. All together. Before buying anything.
The Budget Impact of Preventing Mistakes
Renovation mistakes cost real money. Here’s what common errors actually cost to fix:
| Mistake Type | Initial Cost | Fix Cost | Total Waste |
| Wrong paint color | $200 | $200 | $400 |
| Incorrect tile selection | $2,000 | $3,500 | $5,500 |
| Poor cabinet layout | $8,000 | $4,000 labor | $12,000 |
| Bad lighting placement | $1,500 | $2,000 | $3,500 |
| Furniture that doesn’t fit | $3,000 | Resell loss $1,500 | $4,500 |
These aren’t worst-case scenarios. They’re typical costs for middle-class renovations gone wrong.
3D visualization catches these issues during planning. You see the tile looks too busy. The cabinet layout feels cramped. The furniture won’t work. Change these digitally. Cost? Zero beyond the visualization service itself.
Real-World Example: Kitchen Renovation
Sarah planned a $25,000 kitchen renovation. She selected materials carefully. White cabinets. Gray quartz counters. Subway tile backsplash. Light gray paint.
Everything looked good in the samples. She ordered materials. Installation began.
The finished kitchen felt cold. The white cabinets against gray counters against gray paint created a sterile, unwelcoming space. She hated it.
Cost to fix? New cabinets weren’t an option. She repainted ($300), changed hardware ($400), added wood accents ($800), and replaced some tile ($1,200). Total additional spend: $2,700. Plus weeks of additional work.
A 3D rendering would have shown the color temperature issue immediately. She could have adjusted to warmer cabinet hardware, different paint, or varied materials. In the planning phase. For free.
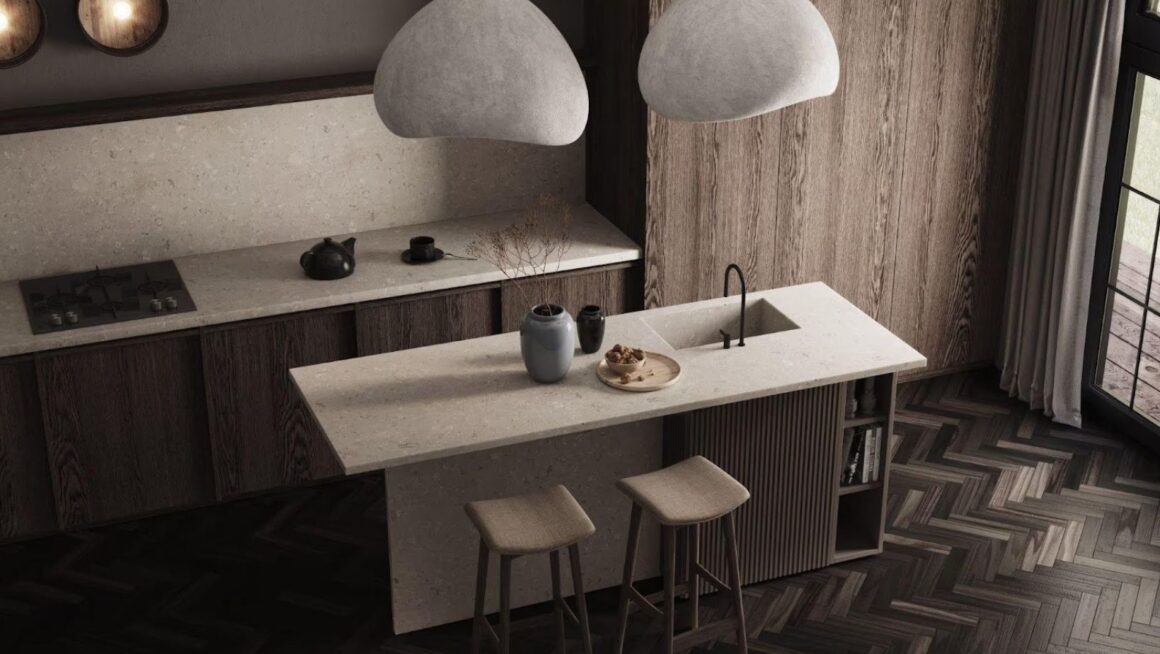
Making Lighting Decisions That Actually Work
Lighting makes or breaks a renovation. But it’s nearly impossible to preview accurately.
You see fixtures in a showroom. Bright overhead lighting. They look fine. You install them in your space. Different ceiling heights. Different natural light. Different wall colors. Suddenly they create harsh shadows or insufficient light.
3D rendering simulates lighting in your actual space:
● Morning light through east windows
● Afternoon sun from south exposure
● Evening artificial lighting
● How fixtures interact with wall colors
● Shadow patterns from furniture
This prevents expensive lighting mistakes. That pendant that looked perfect might cast weird shadows on your counters. The recessed lights might create glare on your TV. See these issues virtually. Adjust before installation.
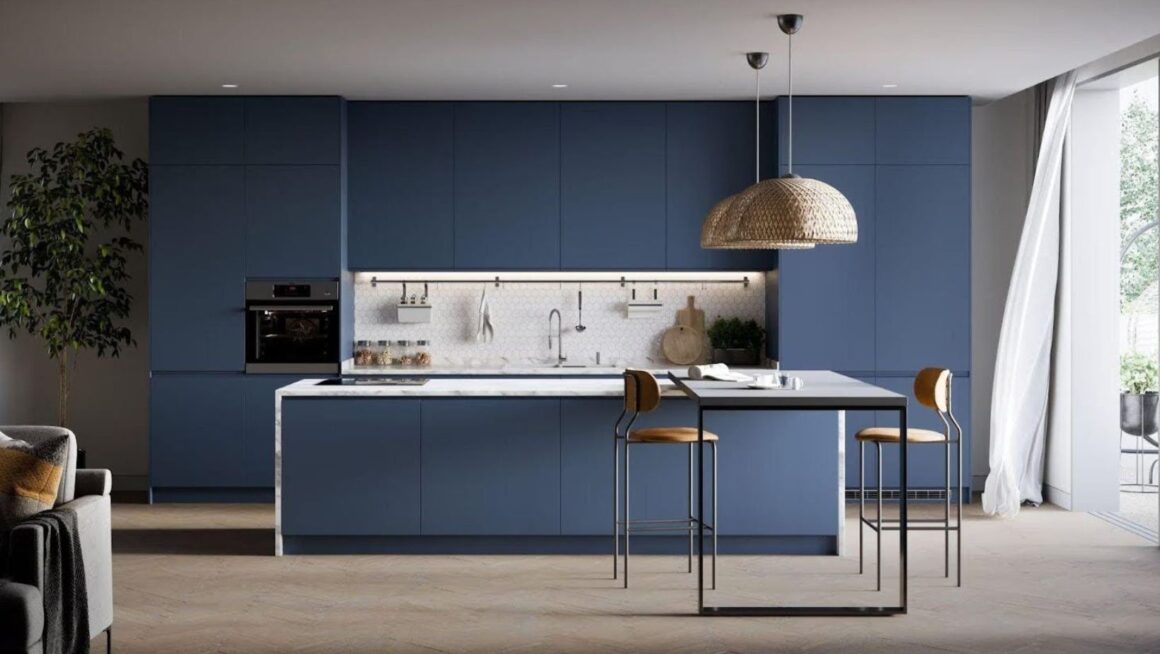
Understanding Scale and Proportion
Floor plans show dimensions. Your brain translates those numbers into spatial understanding. Sometimes your brain gets it wrong.
That sectional sofa measures 110 inches. Your living room measures 180 inches. Math says it fits. You order it. It arrives. Technically it fits. But it overwhelms the room. Makes everything feel cramped.
3D visualization shows actual scale:
● How furniture relates to room size
● Whether walking paths feel comfortable
● If pieces create good flow or awkward navigation
● How ceiling height affects perceived space
You see a sofa in your room. At actual scale. Does it work? Really work? Not just technically fit on paper.
Testing Different Options Quickly
Renovations involve constant decisions. Should cabinets go to the ceiling or stop lower? White or off-white paint? Hardwood or luxury vinyl? Large tile or small?
Making these decisions from samples and imagination creates anxiety. You second-guess yourself. You wonder if the other option would have been better.
With 3D rendering:
● Test multiple options virtually
● See cabinets at different heights
● Compare paint colors in actual lighting
● Evaluate flooring materials in context
● Try different furniture arrangements
This removes guesswork. You see both options. You make informed decisions based on what actually looks better in your space.
“The ability to preview different choices before spending money gave us confidence we’d never had in previous renovations.”
Working with Contractors More Effectively
Miscommunication with contractors creates problems. You describe your vision. They interpret it. Their interpretation doesn’t match your expectation. Work gets done wrong. Redoing it costs extra.
3D renderings create shared understanding:
● Everyone sees the same vision
● Contractors understand exactly what you want
● Reduces back-and-forth explanations
● Catches conflicts before construction
● Serves as reference during installation
Your contractor can reference the rendering. Is this the right fixture height? Check the rendering. Should this tile run horizontally or vertically? Rendering shows it.
Clear visual communication prevents costly misunderstandings.
The Cost of Visualization vs. The Cost of Mistakes
Professional 3D rendering services cost money. Typically $500-2,000 depending on project scope and detail level.
That might seem like an unnecessary expense when you’re already stretching your renovation budget.
But look at the math:
● Average mistake cost: $2,000-5,000
● Common mistakes per renovation: 2-3
● Total waste from preventable errors: $4,000-15,000
● Cost of visualization: $500-2,000
Even preventing one mistake pays for the visualization service. Preventing multiple mistakes saves thousands while reducing stress and delays.
When Visualization Makes the Most Sense
Not every project needs 3D rendering. Painting one room? Replacing a toilet? Simple projects with minimal risk probably don’t justify the cost.
Visualization makes sense for:
● Kitchen renovations (major investment, many decisions)
● Bathroom remodels (expensive materials, tight spaces)
● Open-concept conversions (spatial flow critical)
● Major living space updates (furniture, lighting, finishes)
● Any project over $10,000
The more complex the project and the higher the budget, the more valuable visualization becomes.
Finding the Right Balance
Some homeowners worry that using professional services like 3D rendering pushes them out of middle-class DIY territory into luxury renovation costs.
The opposite is true. Visualization helps middle-class budgets stretch further by:
● Preventing waste from mistakes
● Ensuring you buy the right items first time
● Reducing contractor rework charges
● Giving confidence to make decisions yourself
● Avoiding expensive “fixes” to problems you created
You’re not paying for luxury. You’re paying for insurance against expensive mistakes.
Real Priorities for Middle-Class Renovations
Middle-class renovations prioritize value. Every dollar spent should improve your home in a meaningful way.
Spending money on:
● Materials that don’t work together
● Paint you need to redo
● Furniture that doesn’t fit
● Lighting that creates problems
None of that creates value. It’s pure waste.
Spending money on visualization that prevents these mistakes? That’s smart budget management. That’s ensuring your renovation budget goes toward actual improvements instead of fixing avoidable problems.
Taking Control of Your Renovation
The biggest advantage of 3D visualization? Control.
You see the result before committing. You make informed decisions. You adjust without penalty. You enter the renovation knowing it will turn out right.
Compare this to traditional renovation anxiety:
● Constant second-guessing
● Hoping everything works together
● Stress about expensive decisions
● Fear that it won’t look like you imagined
● Potential disappointment after spending months and thousands of dollars
Visualization eliminates most of this anxiety. You know what you’re getting. You’ve seen it. You’ve approved it. You move forward with confidence.
Making Visualization Work for Your Budget
If 3D rendering seems expensive for your budget, consider these approaches:
Partial Visualization
Focus on the highest-risk decisions. Maybe just the kitchen layout and finishes. Or just the main living space. Visualize where mistakes would cost most.
Phased Approach
Visualize one room fully. Use that confidence and savings to visualize the next phase.
DIY Plus Professional
Use free tools for basic layout planning. Invest in professional rendering for final material and color decisions where mistakes cost most.
The key is matching visualization investment to where it provides the most value in your specific project.
The Bottom Line on Smart Planning
Home renovations represent significant investment for middle-class families. Often the biggest home improvement expense you’ll make in years.
Traditional planning methods ask you to gamble. Make important decisions based on incomplete information. You hope everything works out.
3D visualization removes the gambling. You see the result before investing. You prevent expensive mistakes. You make confident decisions.
For projects over $10,000, the cost of visualization pays for itself by preventing even one significant mistake. For most renovations, it prevents several mistakes while reducing stress and improving results.
Smart planning isn’t about spending more. It’s about spending wisely. Seeing your renovation before it happens isn’t luxury. It’s common sense for anyone who wants their hard-earned money to create the home they actually want, not the one they hoped for but didn’t quite get.