 Qyndarix Thalendros
What to Check During a Home Inspection begins with clear priorities: safety, water control, and systems that cost the most to fix. A buyer or seller who knows the key checks will spot deal‑making defects and avoid surprises after closing. This guide presents a room‑by‑room, 2026‑updated checklist that prepares a homeowner or house hunter for the inspector’s visit, explains what the inspector will test, and highlights the exact problems that typically drive repairs or renegotiation.
Key Takeaways
- Preparing documents and clearing access before a home inspection ensures the process focuses on real issues and avoids avoidable delays.
- Inspect the roof, gutters, siding, and attic for damages or water leaks, as these are critical exterior points that often need repair.
- Check the foundation, crawl space, and basement for cracks, moisture, and structural concerns which can signal costly problems.
- Test plumbing systems by running faucets, checking water pressure, and inspecting pipes and water heaters for corrosion or faults.
- Evaluate the electrical system by examining the service panel, wiring, outlets, and ensuring smoke and CO alarms are functional for safety.
- Assess HVAC operation, insulation levels, and window conditions to identify energy inefficiencies and improve home comfort.
Quick Prep: What To Do Before The Inspector Arrives (Documents, Access, And Simple Checks)
Answer first: gather documents, clear access, and run fast system checks so the inspection focuses on real problems, not avoidable confusion.
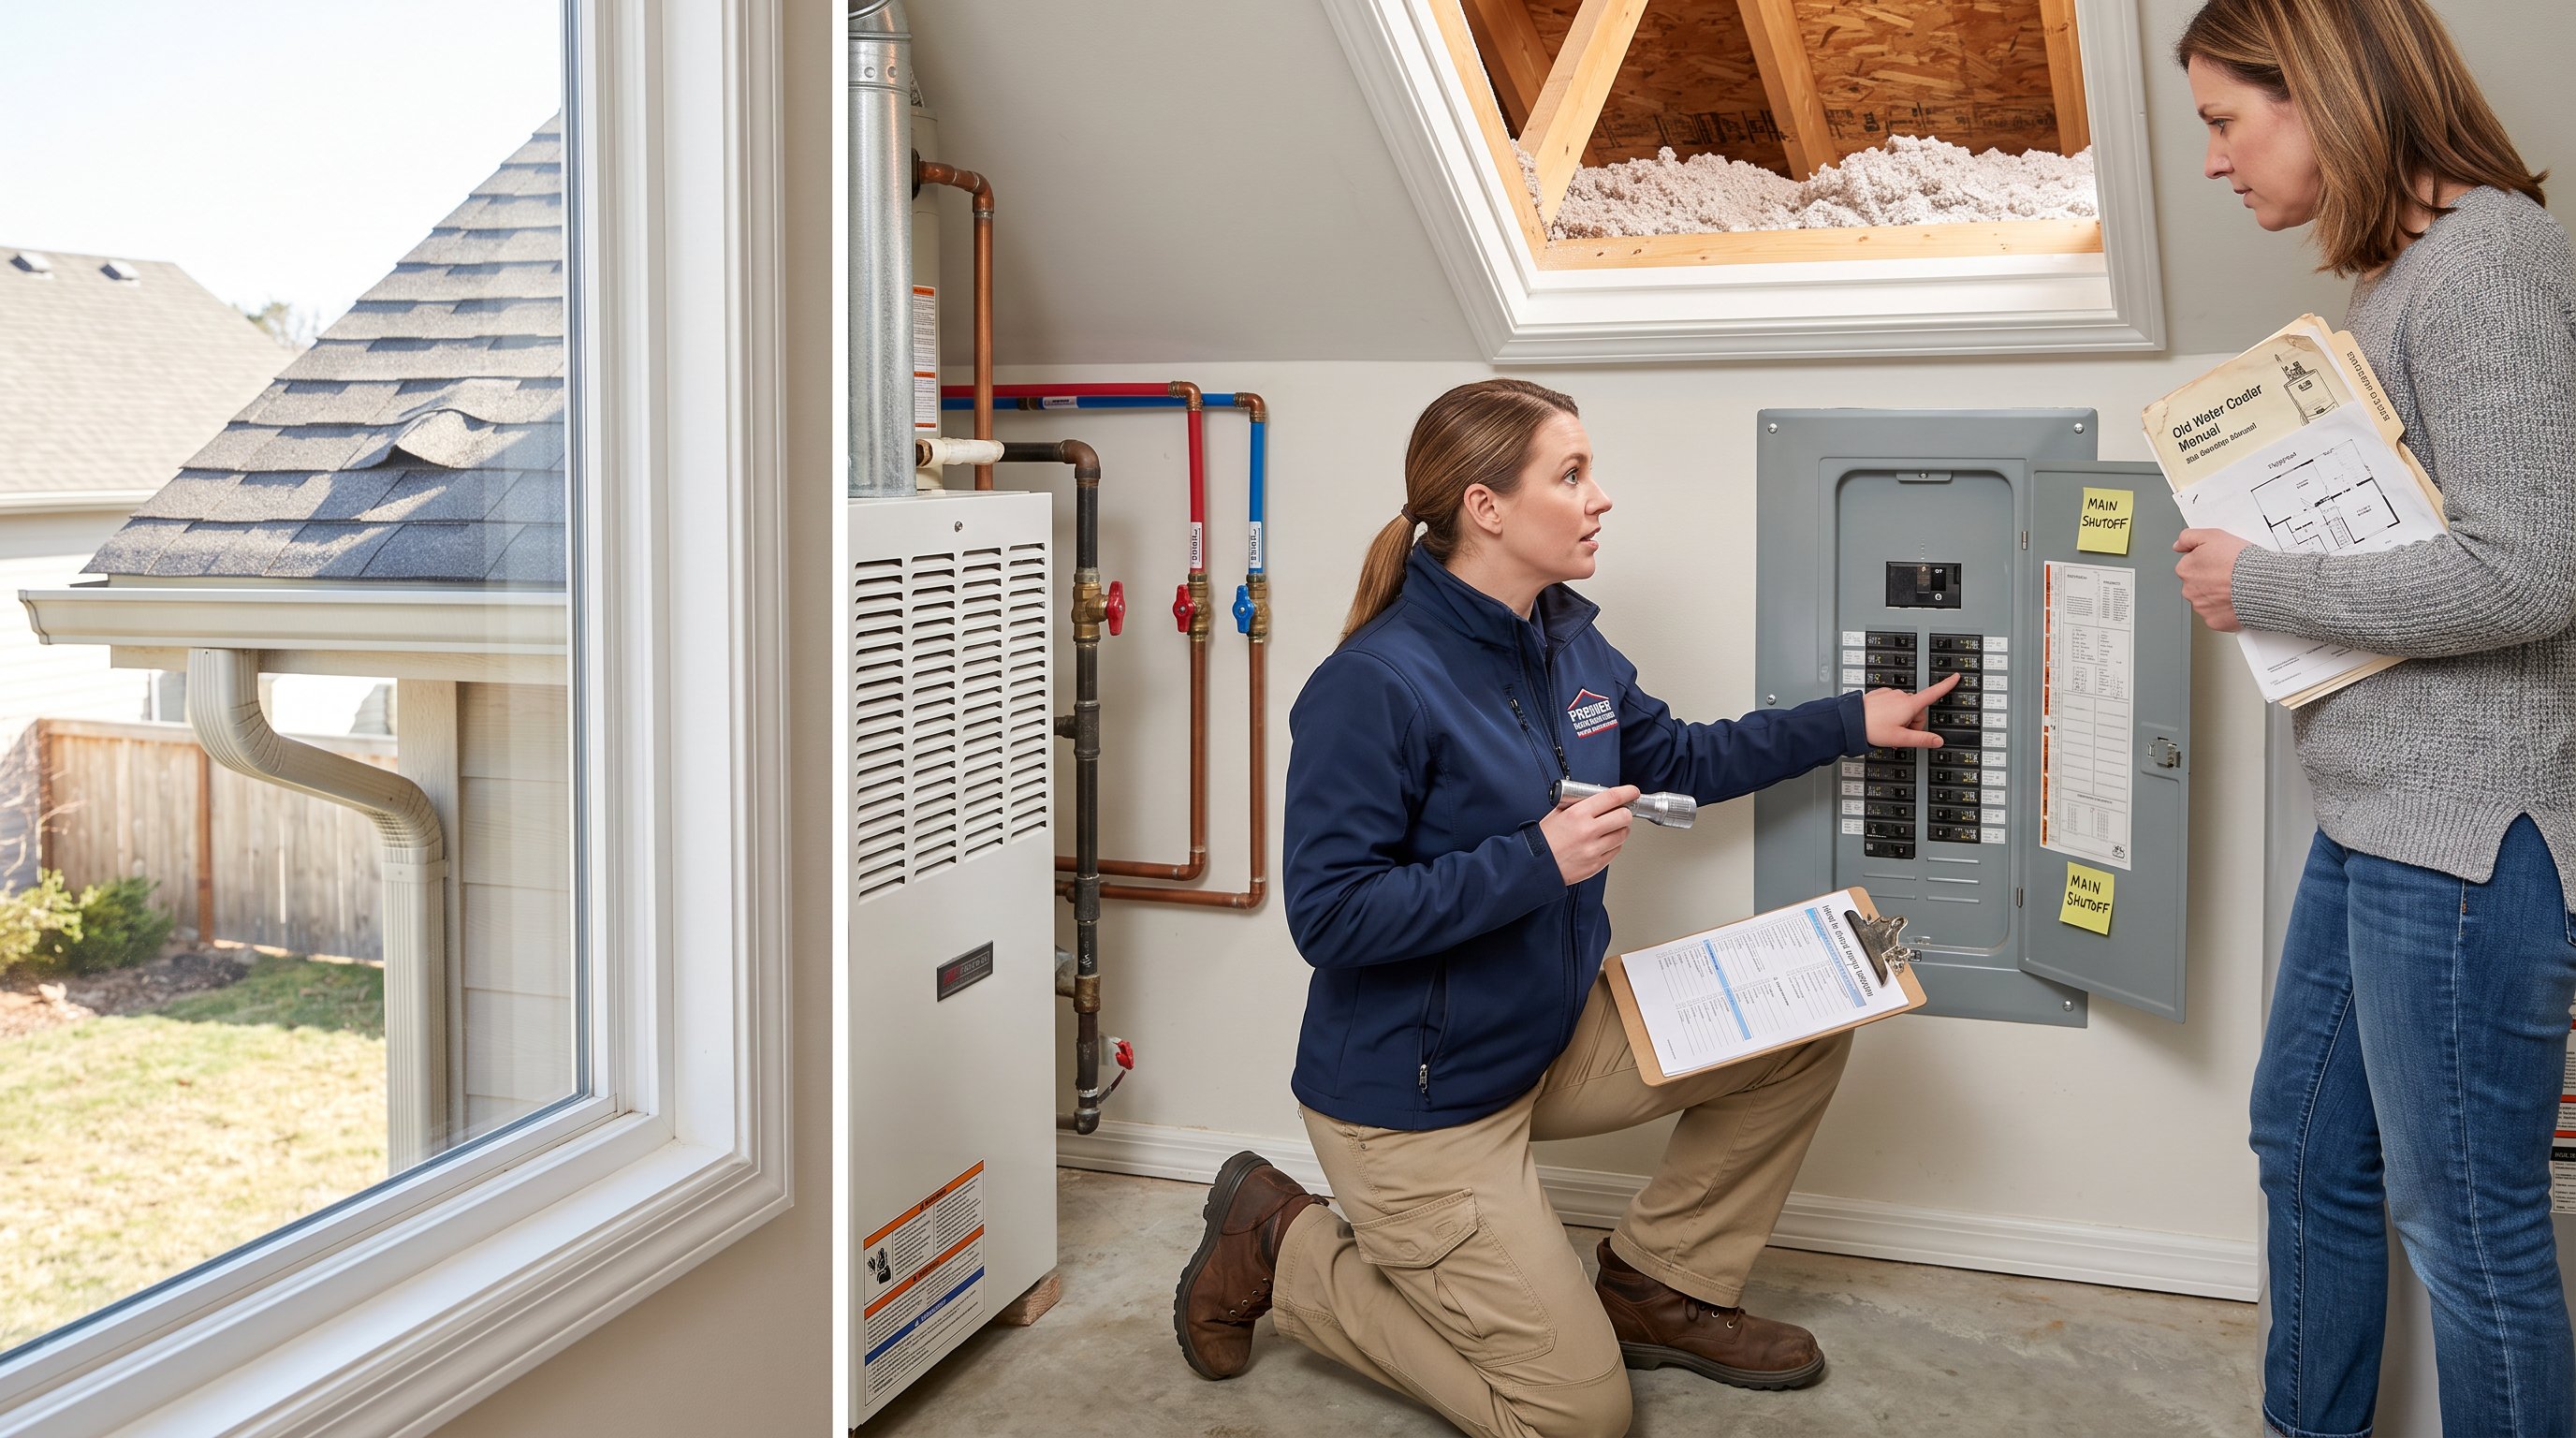
Before the inspector arrives, collect permits, repair invoices, warranties, and previous inspection reports. These papers save time and often explain past fixes. Leave a note that marks main shutoffs and the water heater. Clear pathways to the electrical panel, attic hatch, furnace, and crawl space so the inspector can access them without moving furniture or stepping on fragile floors.
Do three simple checks: replace burned‑out bulbs, test one smoke and one carbon monoxide alarm, and run each faucet briefly to reveal obvious low pressure or leaks. If the house has dogs or children, secure them: interruptions slow the inspection and increase missed items.
Practical warning: failing to provide access to a crawl space or attic often results in an “unable to inspect” line item that can later become a costly surprise. For buyers budgeting for repairs, reading a primer on how to budget for repairs after buying a home helps set realistic expectations.
Roof, Gutters, Siding And Attic: What To Inspect From Above And Outside
Answer first: look for missing or damaged roofing materials, blocked gutters, siding failures, and attic signs of leaks, these are the top exterior failure points.
On the roof, note any missing, curled, or patched shingles and failing flashing around chimneys, vents, and skylights. A short inspection may reveal ponding on flat roofs, moss on shingles, or tile cracks. Small, patterned cracks at eaves or valleys often mean the roof is past its expected life and will require replacement within years.
Gutters and downspouts should be securely attached, free of debris, and directing water at least 3–6 feet from the foundation. A quick test: flush gutters with a hose to watch flow and downspout discharge. Blocked gutters can turn a minor leak into a major foundation problem.
Check siding for cracks, rot, or gaps where siding meets trim or grade. Siding in contact with soil or mulch is a frequent source of hidden moisture damage. In the attic, inspect insulation depth (expect at least R‑38 in cold climates), look for daylight through the roof deck, and stop at any water stains or mold spots. If the attic smells musty or shows pest droppings, note it, those old problems often point to long‑term leaks.
For verification of standard roof checks, the Bob Vila checklist gives focused examples showing why these exterior items matter.
Foundation, Crawl Space And Basement: Signs Of Structural Or Water Damage To Watch For
Answer first: cracks, moisture, and uneven floors are immediate red flags that often indicate structural or drainage problems.
Inspect the foundation for crack patterns and size. Hairline shrinkage cracks running vertically are common: horizontal or stair‑step cracks, wide openings, or cracks with displacement suggest movement that needs evaluation. Look for efflorescence, white mineral streaks on concrete, which signals persistent water penetration.
In the crawl space and basement, note standing water, musty odors, or deteriorated wood. Framing members with rot, visible termite damage, or sagging floor joists point to past or ongoing moisture problems. Check grading outside windows and along foundation walls: soil that slopes toward the house or downspouts that dump at the foundation edge create chronic water pressure against walls.
A practical example: one buyer found a 1.5‑inch offset crack plus bulging at a basement wall. That combination required a structural engineer and a waterproofing quote of over $12,000. Small visible signs often link to big hidden costs. If the inspection raises foundation concerns, consult resources about warning signs of foundation problems for local guidance.
Plumbing And Water Systems: Pipes, Fixtures, Water Pressure And Drainage Tests
Answer first: test running water, listen for leaks, and inspect visible pipes for corrosion or improper materials.
A practical checklist: run every faucet and shower for a minute, flush each toilet twice, and check drains for slow flow. Measure water pressure at an accessible hose bib or inside with a gauge: good systems usually sit between 40–60 psi. Low hot water or delayed hot flow can indicate a distant water heater or failing circulation.
Visually inspect exposed supply and drain pipes for corrosion, patched sections, or unsupported runs. Copper and PEX are common: galvanized pipe older than 40 years often shows internal buildup and reduced flow. At the water heater, check the temperature/pressure relief valve, look for rust at the base, and note the stamped manufacture date. A 12‑year old tank is often due for replacement.
To protect a new owner’s budget, compare expected repair costs to estimates in the site’s guidance on how to set a realistic home‑buying budget. Also, when walls show signs of staining or soft drywall, consider getting the walls checked for leaks to confirm whether active moisture exists.
Electrical System And Safety Devices: Panels, Wiring, Outlets And Alarms
Answer first: ensure the service panel is safe, outlets operate properly, and alarms work, electrical issues are both safety and insurance concerns. A useful internal reference for this is the site guide.
Open the electrical panel and note the service size, labeling, and any signs of overheating such as melted insulation or discolored breakers. Double‑tapped breakers or full‑size breakers on tandem conductors are common amateur fixes that need correction. Test a sample of outlets with a plug tester to reveal open grounds or reversed polarity.
Inspect visible wiring for frayed insulation, exposed splices, or cloth‑covered wiring that may need updating. Look for extension cords used as permanent wiring, that’s a safety violation. Verify that GFCI outlets exist where required (kitchens, bathrooms, exterior) and that smoke and carbon monoxide alarms are present and functional. An inspector will check alarms, but sellers should replace batteries and test devices beforehand.
A real case: an inspector found a panel with two overheated breakers: replacement and partial rewiring cost the seller $1,400. Electrical defects often appear minimal until load testing or thermal inspection reveals hotspots. For a practical overview of core inspection areas, the site’s pillar page offers broader buying and ownership guidance.
HVAC, Insulation And Energy Efficiency: Filters, Ducts, Thermostat And Performance Checks
Answer first: run heating and cooling, check filters and thermostat response, and look for insulation gaps or drafty windows that waste energy.
Turn on the furnace and AC during the inspection. Note strange noises, long start times, or inability to reach set temperatures. Inspect filter condition: a heavily clogged filter reduces efficiency and hides duct problems. On forced‑air systems, check ducts at visible seams for insulation and secure connections. A leaking return duct in an attic can pull dust and reduce home pressure.
Assess insulation: attic insulation depth should align with local code and climate recommendations (R‑values vary by region: many cold climates target R‑38 or better). Check exterior windows for single‑pane glass, failed seals, or rotted sills. A single drafty window can create the feeling of a cold room and increase heating bills noticeably.
Practical energy note: sealing accessible air leaks and adding proper attic insulation often reduces heating bills by 10–20% depending on the home. For ongoing ownership costs, pair these inspection findings with the site’s articles on summer maintenance and ways to protect a home’s structure to form an annual maintenance plan.
Conclusion
A home inspection is a focused search for safety, moisture, and systems that carry the largest repair bills. Buyers and sellers who prepare documents, clear access, and know what to watch for (roof and water management, structural signs, plumbing, electrical, and HVAC/insulation) can turn inspection findings into realistic repair budgets or negotiation leverage. The inspection report should list defects, their risk, and recommended actions so both parties make informed decisions before closing.